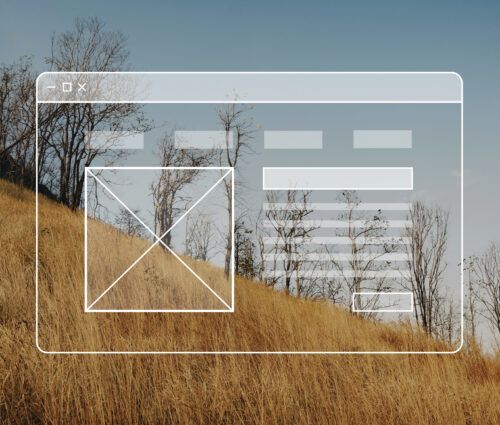
Software Product Design Services
Ready to talk Product Design?
Our product design experts are
eager to hear about your business goals.
Our Software Product Design Services
At SPR, we offer comprehensive product design services to meet your business needs and deliver exceptional user experiences.
- Product Innovation: Launching a new product is an exciting opportunity, but it requires a strategic approach to ensure success. Product innovation focuses on creating solutions that align with user expectations and meet their needs from day one. By working backward from how you envision customers interacting with your product, we craft user experiences that drive engagement and satisfaction. Through experimentation and rapid iteration, we help you learn faster, bring your product to market efficiently, and unlock new revenue streams, fueling product-led growth.
- Product Modernization: Already have a product but need to bring it up to date? We can facilitate a heuristic audit to set a benchmark of current state and support you in transforming your existing design to align with modern user standards, ensuring that your product remains relevant and competitive.
- DesignOps: From streamlining design workflows to fostering cross-functional collaboration, DesignOps ensures your design system and efforts are efficient, scalable, and seamlessly integrated into your product development processes.
Our Process
Delivering exceptional products requires a structured approach, and SPR’s proven process ensures every project achieves meaningful results:
- Strategy: We begin with research and innovation, uncovering user insights and market opportunities to guide the direction of your product.
- Design: From branding to UX/UI design, we craft engaging, intuitive user experiences that align with your business objectives and user expectations.
- Develop: Our engineering expertise and robust infrastructure ensure your product is built with precision and scalability, ready to meet the demands of the modern digital world.
- Stay Accessible: Our design and engineering teams can keep your product up to date with WCAG accessibility standards to help you bring you support all your user audiences.
"Exceptional product design starts with understanding people—their needs, behaviors, and goals. At SPR, we create designs that inspire, engage, and deliver meaningful experiences, laying the foundation for products that make a lasting impact."

Why Choose SPR for Your Product Design?
SPR is more than a partner—we’re an extension of your team. With deep expertise in UI/UX design, cutting-edge technology, and a commitment to delivering value, we help you create products that stand out and perform. Our user-centric approach ensures every decision aligns with your goals and resonates with your audience. From strategy to launch, we collaborate closely with you to drive innovation, enhance usability, and achieve measurable business outcomes.
Improving the Product Design Process

Improving the Product Design Process
A medical content company faced challenges with a reactive product design process that led to frequent rework and misalignment with customer needs. SPR collaborated across departments to introduce structured methodologies for product discovery and validation, aligning development with customer priorities. They implemented design operations practices, such as project briefs and communication pathways, and conducted workshops to mitigate research biases, resulting in streamlined processes and improved product alignment with user needs.
Frequently Asked Questions
Why should my business have a digital product?
A digital product helps you reach more customers, streamline operations, and stay competitive by delivering modern, engaging experiences that meet today’s market expectations.
What services are included in software product design?
Software product design includes discovery, UX/UI design, prototyping, usability testing, and technical feasibility assessments to create user-friendly and effective solutions.
How long does it take to design a digital product?
Timelines vary based on complexity; simple products may take 4–8 weeks, while larger, more complex designs can take several months.
Does SPR offer post-design support?
Yes, SPR provides post-design support, including development handoff, iterative improvements, and ongoing design maintenance.
What industries does SPR specialize in?
SPR specializes in healthcare, finance, retail, manufacturing, and professional services, offering tailored solutions for diverse business needs.
What if I am designing a product that will be built on a package solution and not custom developed?
SPR ensures your product design integrates seamlessly with package solutions while meeting user needs and maintaining quality standards.
Featured Insights
Our thought leaders provide insight on industry news and trends in our Lumen magazine.