Deploying Master Pages to a SharePoint 2013 Online Host Web with an Autohosted App in Office 365
A big challenge when switching gears when writing SharePoint 2013 apps is figuring out a good way to deploy custom master pages or other design artifacts to the SharePoint 2013 host web. In SharePoint 2013 Online in Office 365 you cannot just deploy wsp packages and files at will and place them in the hive as we’ve all been accustomed to with on-premises SharePoint 2010 deployments. Without having to use a sandboxed solution, which has been referred to as deprecated, we can create an autohosted SharePoint 2013 app that can deploy files to the host web on Office 365!
In this example I will demonstrate how to deploy a custom master page from the app web to the host web so that it will be available for the site collection to use. I chose an autohosted app so that I could write managed code using CSOM and have the app live outside of SharePoint. Also make sure that the publishing features have been activated on the target site.
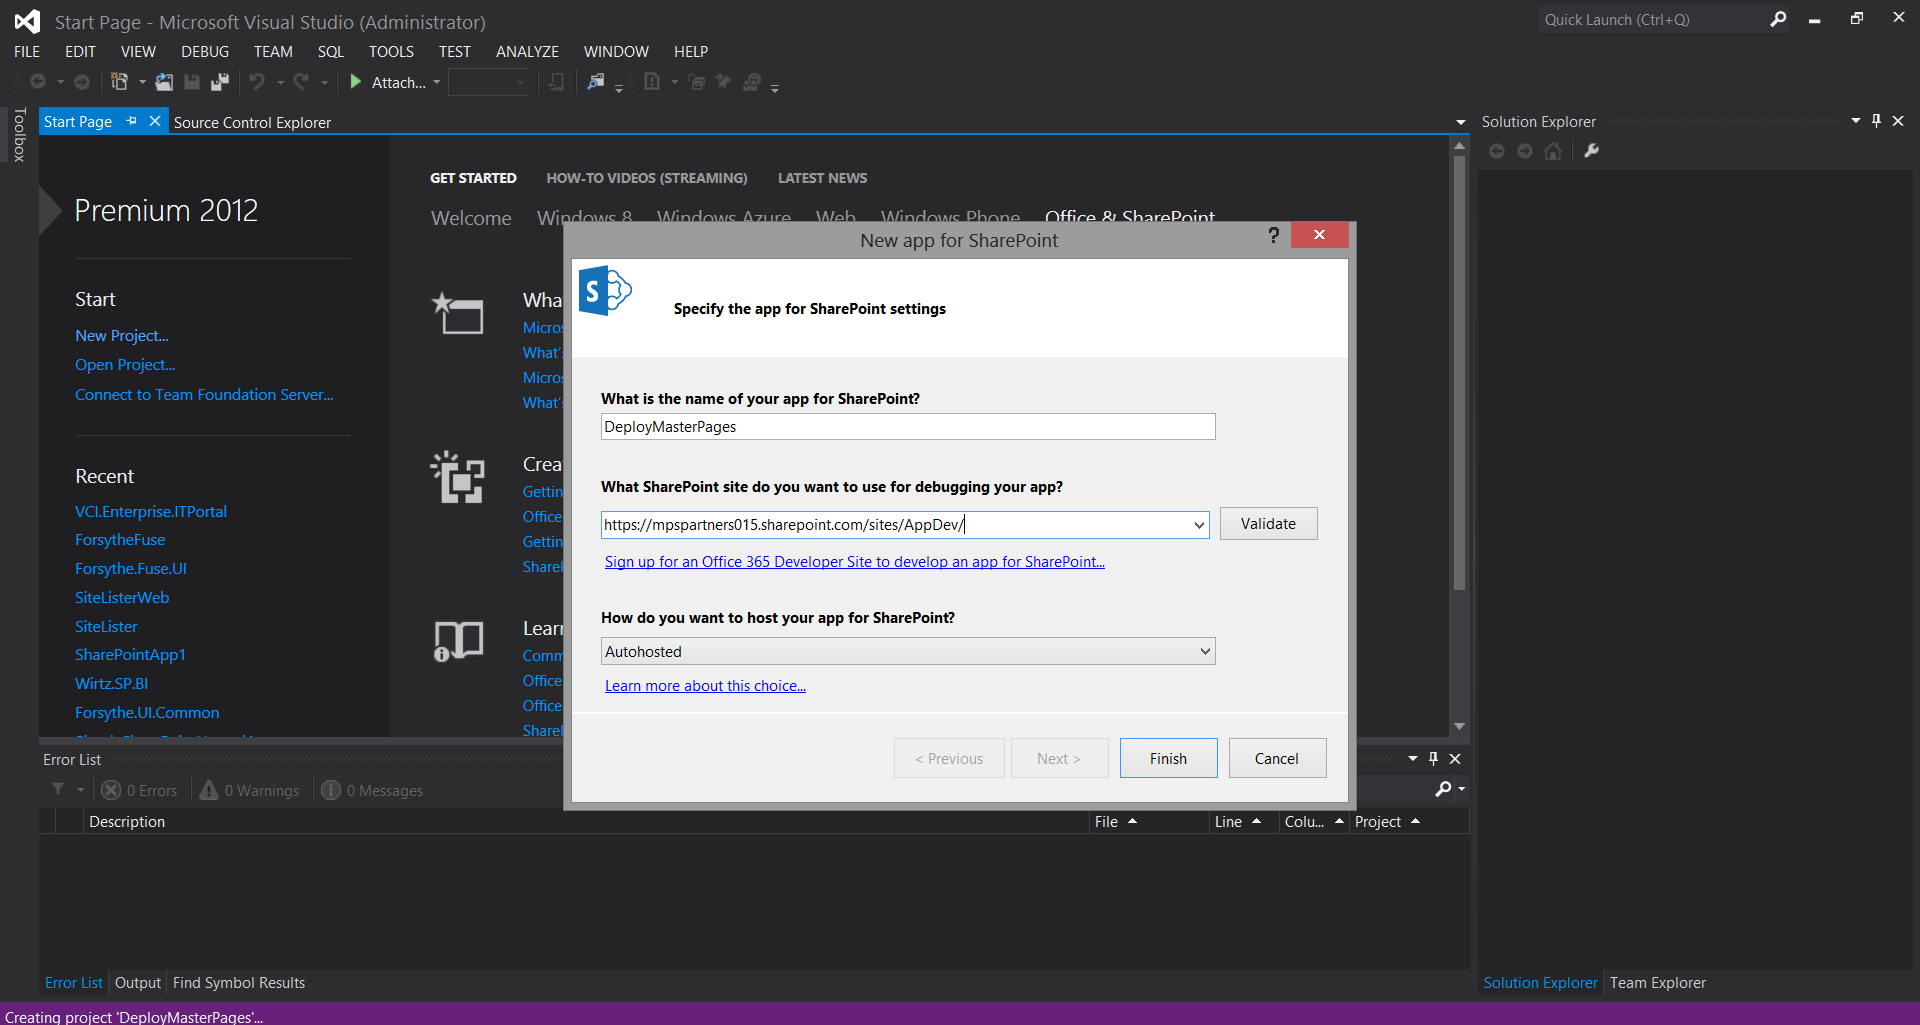
In Visual Studio 2012 create a new SharePoint 2013 project and create a SharePoint 2013 autohosted app.

Within the project there will be the App and the App Web. All of the CSOM managed code, and files that will be deployed will be added to the app web.
In this example, I will be deploying a modified version of the out of the box master page Seattle.master.
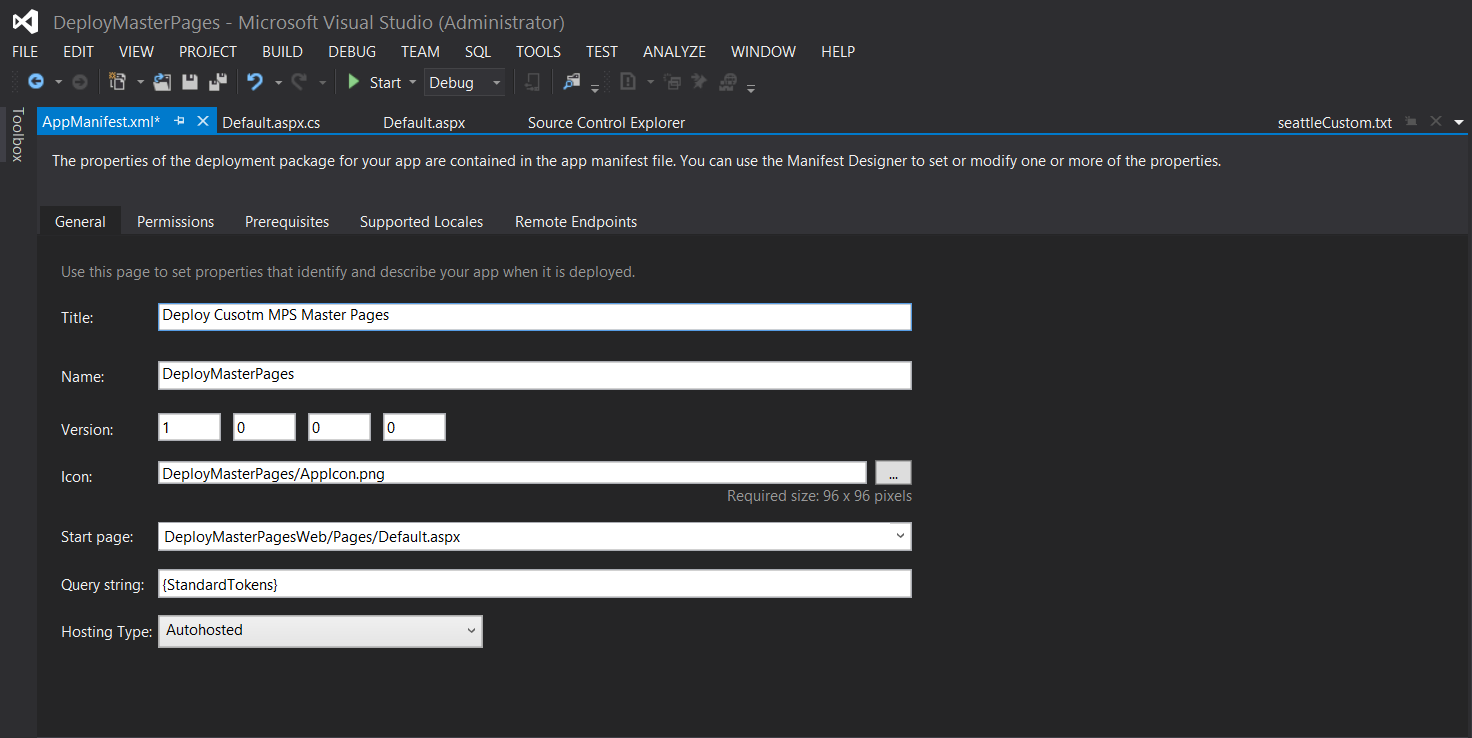
First open the AppManifest file to the app to set the title, icon (if you have one), and the permissions for the app.
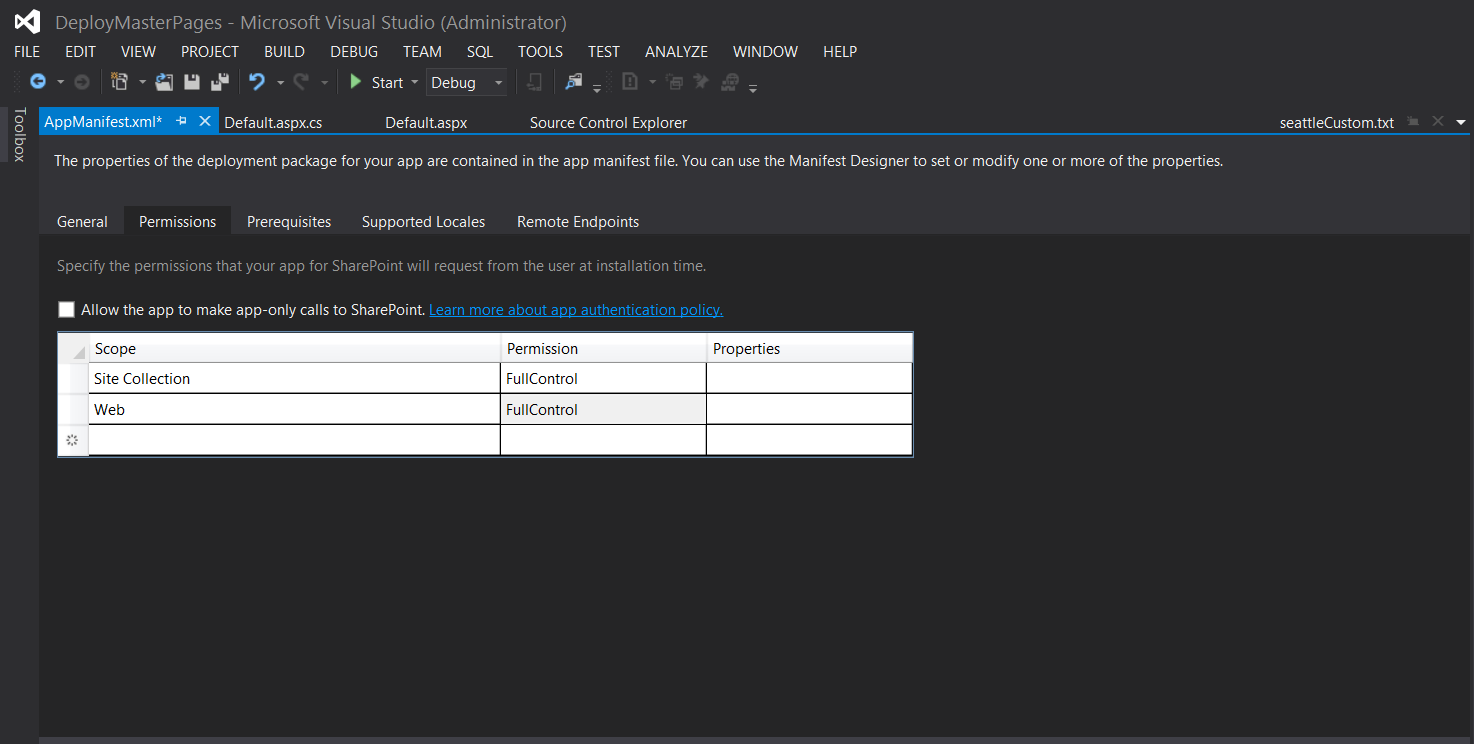
Set the following permissions.
Site Collection – Full Control
Web – Full Control
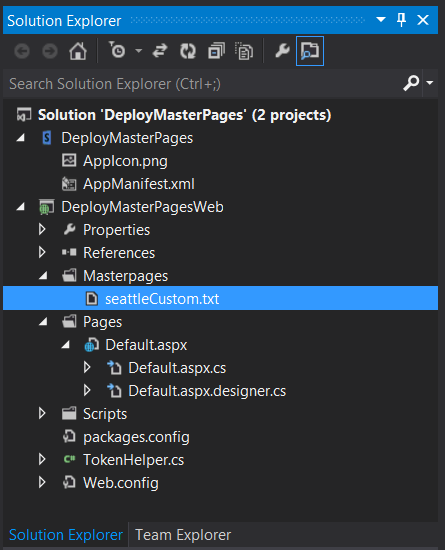
Next, in the app web create a folder called “masterpages” to store the master pages that will be deployed to the host web. After downloading and modifying Seattle.master, save the master page as a text file and add it to the masterpages folder. The master page will have to be renamed as a text file so that the app web will not interpret all the SharePoint specific mark up and references since they will not be included. Keeping the file as a .master file will cause exceptions when trying to build the project due to all the missing references. The idea is that the master page should be fully functional within the bounds of SharePoint before deploying the file.
Now that master page is added to the solution, the app will be coded to do the following.
- Read the file stream of the file from the app web
- Create a new FileCreationInformation object
- Save the file as a master page in the destination library
- Set the content type to the ASP Master Page content type
- Set the metadata of the master page
- Publish the master page
In the pages folder open default.aspx.cs to code the page load event.
protected void Page_Load(object sender, EventArgs e)
{
// The following code gets the client context and Title property by using TokenHelper.
// To access other properties, you may need to request permissions on the host web.
var contextToken = TokenHelper.GetContextTokenFromRequest(Page.Request);
var hostWeb = Page.Request[“SPHostUrl”];
using (var clientContext = TokenHelper.GetClientContextWithContextToken(hostWeb, contextToken, Request.Url.Authority))
{
var site = clientContext.Site;
//Upload master page from app web. Masterpage will be in the form of text since we only care about the markup and the masterpage should be already tested and fully functional within sharepoint
//If masterpage was left as a masterpage file then there will be compile errors due to missing dll and references
var streamMaster = this.OpenFile(“/MasterPage/seattleCustom.txt”);
//Get context to the master page gallery. Make sure the target site has Publishing features activated
List gallery = site.RootWeb.Lists.GetByTitle(“Master Page Gallery”);
//Create File Creation Information Object
FileCreationInformation fcimaster = new FileCreationInformation();
fcimaster.ContentStream = streamMaster;
fcimaster.Url = “MPSHome.master”;
fcimaster.Overwrite = true;
//Add File to Master Page Gallery
Microsoft.SharePoint.Client.File newFile = gallery.RootFolder.Files.Add(fcimaster);
clientContext.Load(newFile);
clientContext.ExecuteQuery();
//Get Masterpage from Gallery to set content type and metadata using caml query
CamlQuery camlQuery = new CamlQuery();
camlQuery.ViewXml = “<View><Query><Where><Contains><FieldRef Name=’FileLeafRef’/><Value Type=’Text’>” + fcimaster.Url + “</Value>” + “</Contains></Where></Query><RowLimit>100</RowLimit></View>”;
Microsoft.SharePoint.Client.ListItemCollection collListItem = gallery.GetItems(camlQuery);
clientContext.Load(collListItem);
clientContext.ExecuteQuery();
//If not checked out, Check out File
foreach (Microsoft.SharePoint.Client.ListItem item in collListItem)
{
clientContext.Load(item.File);
clientContext.ExecuteQuery();
if (item.File.CheckOutType == CheckOutType.None)
{
item.File.CheckOut();
}
//Get the ASP NET Master Page Content Type using helper function
var masterPageCT = GetContentType(clientContext, gallery, “ASP NET Master Page”);
//Set Content Type, UI version, and Description. Check in and Publish
item[“ContentTypeId”] = masterPageCT.Id.ToString();
item[“UIVersion”] = Convert.ToString(15);
item[“MasterPageDescription”] = “This is the custom MPS MasterPage”;
item.Update();
item.File.CheckIn(“Updated Content Type”, CheckinType.MajorCheckIn);
item.File.Publish(“Updated Metadata”);
clientContext.Load(item);
clientContext.ExecuteQuery();
}
}
}
//Function to get content type
private ContentType GetContentType(ClientContext ctx, List docs, string contentType)
{
ContentTypeCollection listContentTypes = docs.ContentTypes;
ctx.Load(listContentTypes, types => types.Include
(type => type.Id, type => type.Name, type => type.Parent));
var result = ctx.LoadQuery(listContentTypes.Where(c => c.Name == contentType));
ctx.ExecuteQuery();
ContentType targetDocumentSetContentType = result.FirstOrDefault();
return targetDocumentSetContentType;
}
Deploy the code, install and run the app. The masterpage should now appear in the masterpage gallery with the metadata filled for the set content type and published. The master page will then be available to switch to when selecting the master page. This convention can work for images, CSS, layouts, or any other files that need to be deployed to the host web.