Jenkins Instance Container: Provision with Persistent Volume in Azure Kubernetes Service

In this post, we explore testing and using Azure Kubernetes service to deploy a Jenkins Instance solution that is highly available and resilient.
With the Kubernetes persistent volume feature, an Azure disk can be dynamically provisioned and attached to a Jenkins Instance container deployment. In another scenario, an existing Azure Disk containing data related to a software team’s Jenkins projects could be attached to a new Jenkins deployment in a Kubernetes cluster, to maintain continuity. Also, data loss in the event of a Pod failure can be averted since the persistent volume storage has a lifecycle independent of any individual pod that uses the persistent volume and can be managed as a separate cluster resource.
Jenkins automation server is one of the most in-demand DevOps tools today. Therefore, deploying a Jenkins instance for software development and engineering teams in a fast, flexible and highly available way is key to maintaining an efficient and smooth running CI/CD and testing process.With Azure Kubernetes, we are able to deploy multiple Jenkins instances customized for each team on a centrally controlled cluster.
Prerequisites
All the Kubernetes related work in this post was done on a Windows 10 machine. The tools are available for both Windows and Linux.
The following tools need to be installed and configured on the working machine before creating and configuring an Azure Kubernetes cluster.
1) Azure CLI: Azure command line tool for creating Kubernetes Clusters
2) Kubectl: Follow the link to download the Kubectl executable and put kubectl.exe somewhere in your system PATH
3) Azure Subscription
I used Kompose.exe, an awesome tool to convert my existing Docker-Compose files to Kubernetes compatible yaml files. Obviously, the yaml files needed to be edited after the convert process.
Login to Azure and create a resource group for the Kubernetes services
Now, let’s look at the steps to setup and deploy a highly available Jenkins deployment in Azure Kubernetes using:
a) a dynamic Azure Disk and
b) a static existing Azure Disk with data
az login --username jenkins.deployment@cicd.com --password passw04rd
Set a subscription to be the current active subscription:
az account set --subscription 0fr96513-fea6-4bca-ad18-311920der789
Create a resource group:
az group create --resource-group rgaks --location centralus

Create an Azure Kubernetes Cluster in the resource group above
At this time, using PowerShell to create an Azure Kubernetes cluster is not supported. I suspect this will change in the future. For now, use Azure CLI az aks command to create a new cluster in the new resource group:
az aks create --resource-group rgaks --name akscluster0 --node-count 2 --node-vm-size Standard_D2s_v3 --ssh-key-value C:\SSH_KubeCluster\sshkey-kubecluster.pub
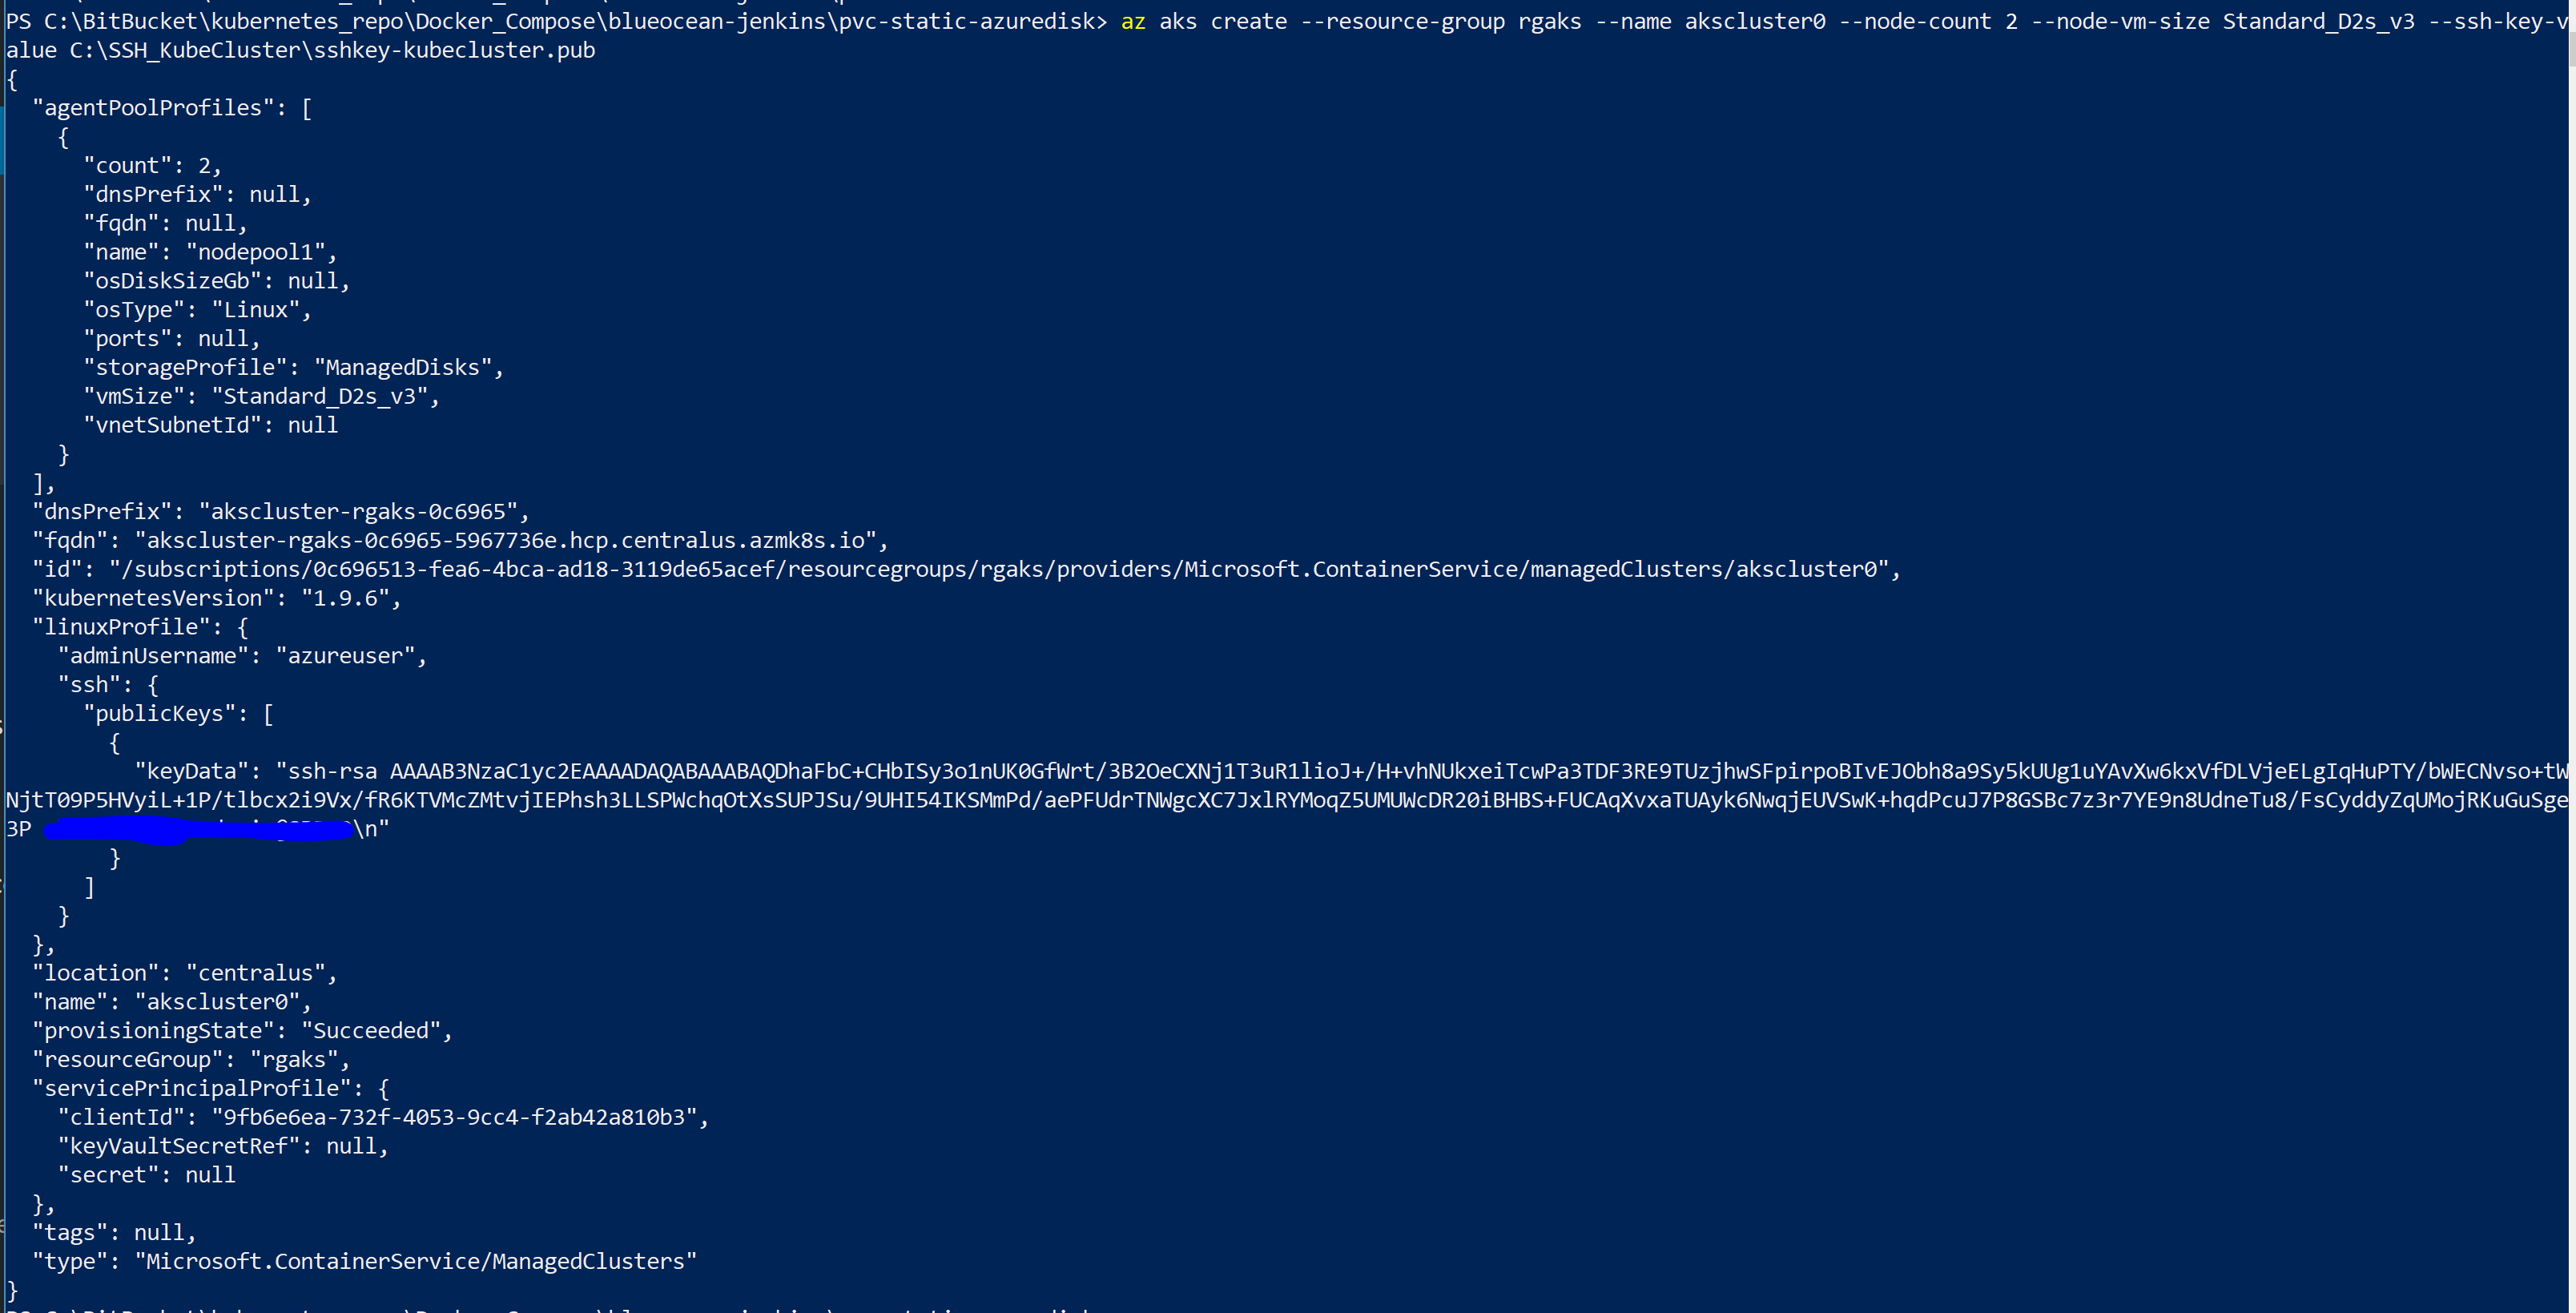
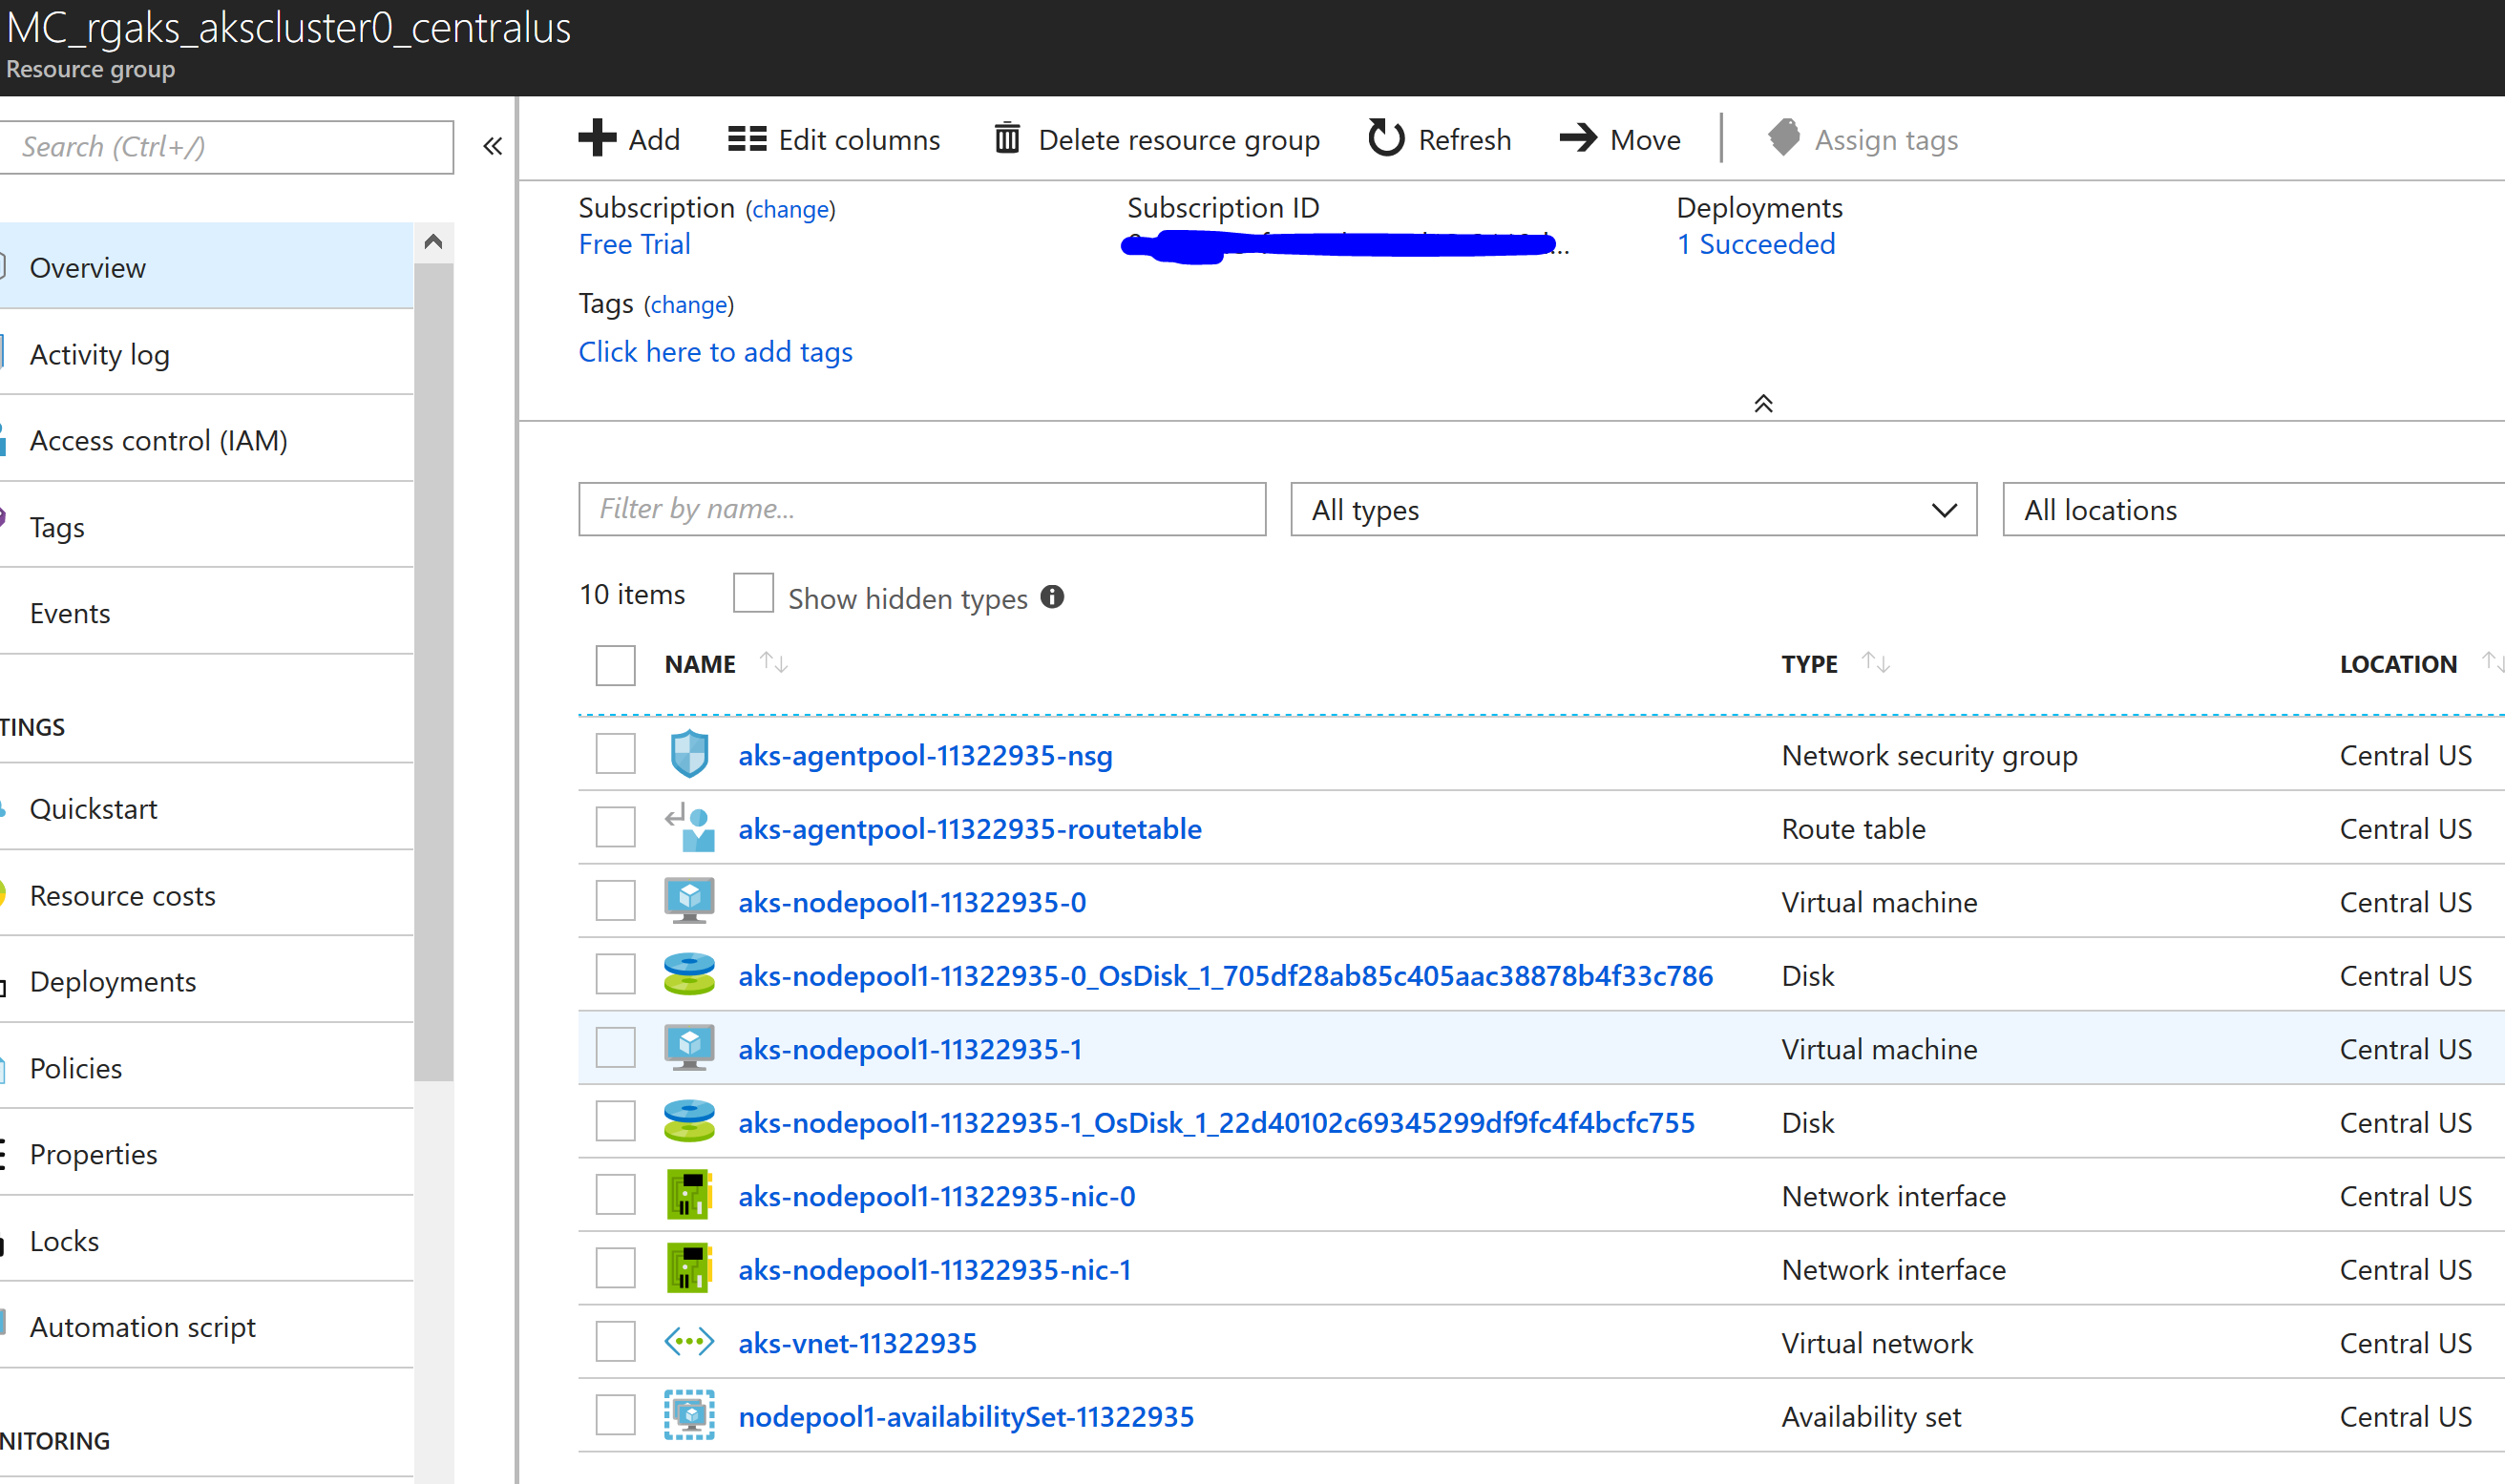
The one line of az aks create code provisions a Kubernetes service object in the rgaks resource group. In addition, it also automatically creates another resource group containing a two node cluster with all corresponding resources as shown in the following screen shot:
After creating the Kubernetes cluster, connect to the cluster from your powershell console by running the az aks get-credentials command to set the current security context on the /.kube/config file and use the kubectl command to verify the state of the Kubernetes cluster nodes:
az aks get-credentials --name akscluster0 --resource-group rgaks
kubectl.exe get nodes

Setup Persistent Storage
At this point, the cluster nodes are ready to host a Jenkins Container Instance in a Kubernetes Pod.Azure Kubernetes clusters are created with two default storage classes as displayed in the screen shot below. Both of these classes are configured to work with Azure disks.A storage class is used to define how a unit of storage is dynamically created with a persistent volume claim. This saves the step of having to create a storage class manifest file to be used by persistent volume claim yaml file. The default storage class provisions a standard Azure disk. The managed-premium storage class provisions a premium Azure disk. You can verify this using the kubectl get storageclasses command:

I selected the managed-premium class for my persistent volume claim configuration. To provision persistent storage to be used for this deployment, I created a yaml file of kind: PersistentVolumeClaim to request a storage unit of capacity 5Gi based on the managed-premium storage class.The pvc will be referenced in my Jenkins deployment yaml file to atach/map the automatically created Azure Disk volume to the Jenkins data home folder path. The following yaml file defines the dynamic creation of a 5Gi unit of storage:
apiVersion: v1
 kind: PersistentVolumeClaim
 metadata:
 name: azure-managed-disk
 annotations:
 volume.beta.kubernetes.io/storage-class: managed-premium
 spec:
 accessModes:
 - ReadWriteOnce
 resources:
 requests:
 storage: 5Gi
Use the Persistent volume to deploy a Jenkins Instance
Merge the persistent volume claim yaml file with the Jenkins application deployment and service yaml files to automatically provision the storage, provision the Jenkins deployment, map the persistent storage as a volume to the Jenkins instance, and create a service type LoadBalancer. This gives you access to the Jenkins instance from outside the Kubernetes cluster virtual network. The full and correctly indented yaml file can be found here on my GitHub page. Using the kubectl.exe tool, you can run a one line script that provisions the deployment, services and persistent volumes from a single yaml file:
apiVersion: extensions/v1beta1
kind: Deployment
metadata:
annotations:
kompose.cmd: C:\Kompose\kompose.exe convert -f .\docker-compose.yml
kompose.service.type: LoadBalancer
kompose.version: 1.13.0 (84fa826)
creationTimestamp: null
labels:
io.kompose.service: jenkinsbox
name: jenkinsbox
spec:
replicas: 1
strategy: {}
template:
metadata:
creationTimestamp: null
labels:
io.kompose.service: jenkinsbox
spec:
containers:
- image: jenkinsci/blueocean
name: jenkins-container
volumeMounts:
- mountPath: "/var/jenkins_home"
name: volume
ports:
- containerPort: 8080
- containerPort: 50000
resources: {}
volumes:
- name: volume
persistentVolumeClaim:
claimName: azure-managed-disk
initContainers:
- name: permissionsfix
image: alpine:latest
command: ["/bin/sh", "-c"]
args:
- chown 1000:1000 /var/jenkins_home;
volumeMounts:
- name: volume # Or you can replace with any name
mountPath: /var/jenkins_home # Must match the mount path in the args line
restartPolicy: Always
status: {}
---
apiVersion: v1
kind: Service
metadata:
annotations:
kompose.cmd: C:\Kompose\kompose.exe convert -f .\docker-compose.yml
kompose.service.type: LoadBalancer
kompose.version: 1.13.0 (84fa826)
creationTimestamp: null
labels:
io.kompose.service: jenkinsbox
name: jenkinsbox
spec:
type: LoadBalancer
ports:
- name: "jenkinsport"
port: 8080
targetPort: 8080
selector:
io.kompose.service: jenkinsbox
status:
loadBalancer: {}
---
apiVersion: v1
kind: PersistentVolumeClaim
metadata:
name: azure-managed-disk
annotations:
volume.beta.kubernetes.io/storage-class: managed-premium
spec:
accessModes:
- ReadWriteOnce
resources:
requests:
storage: 5Gi
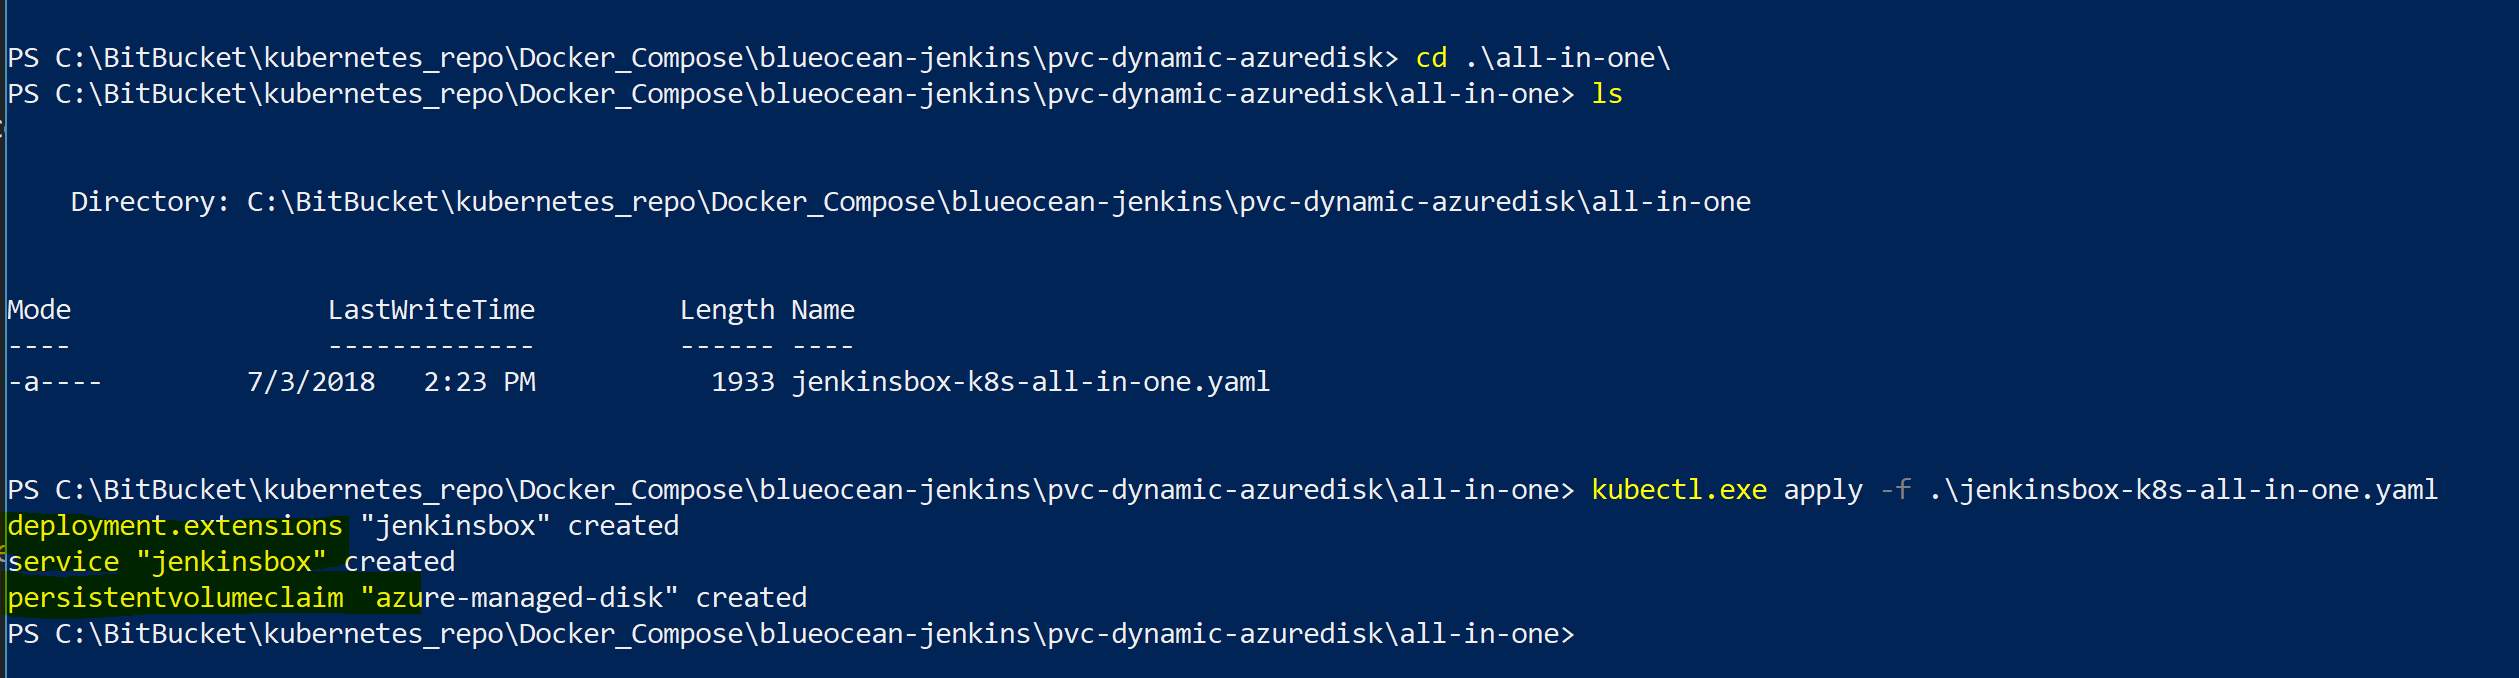
The screen shot displays the one line kubectl script and the deployment, services, and persistent volumes created:
kubectl.exe apply -f .\jenkinsbox-k8s-all-in-one.yaml
Check the status to the deployments,services and pods.

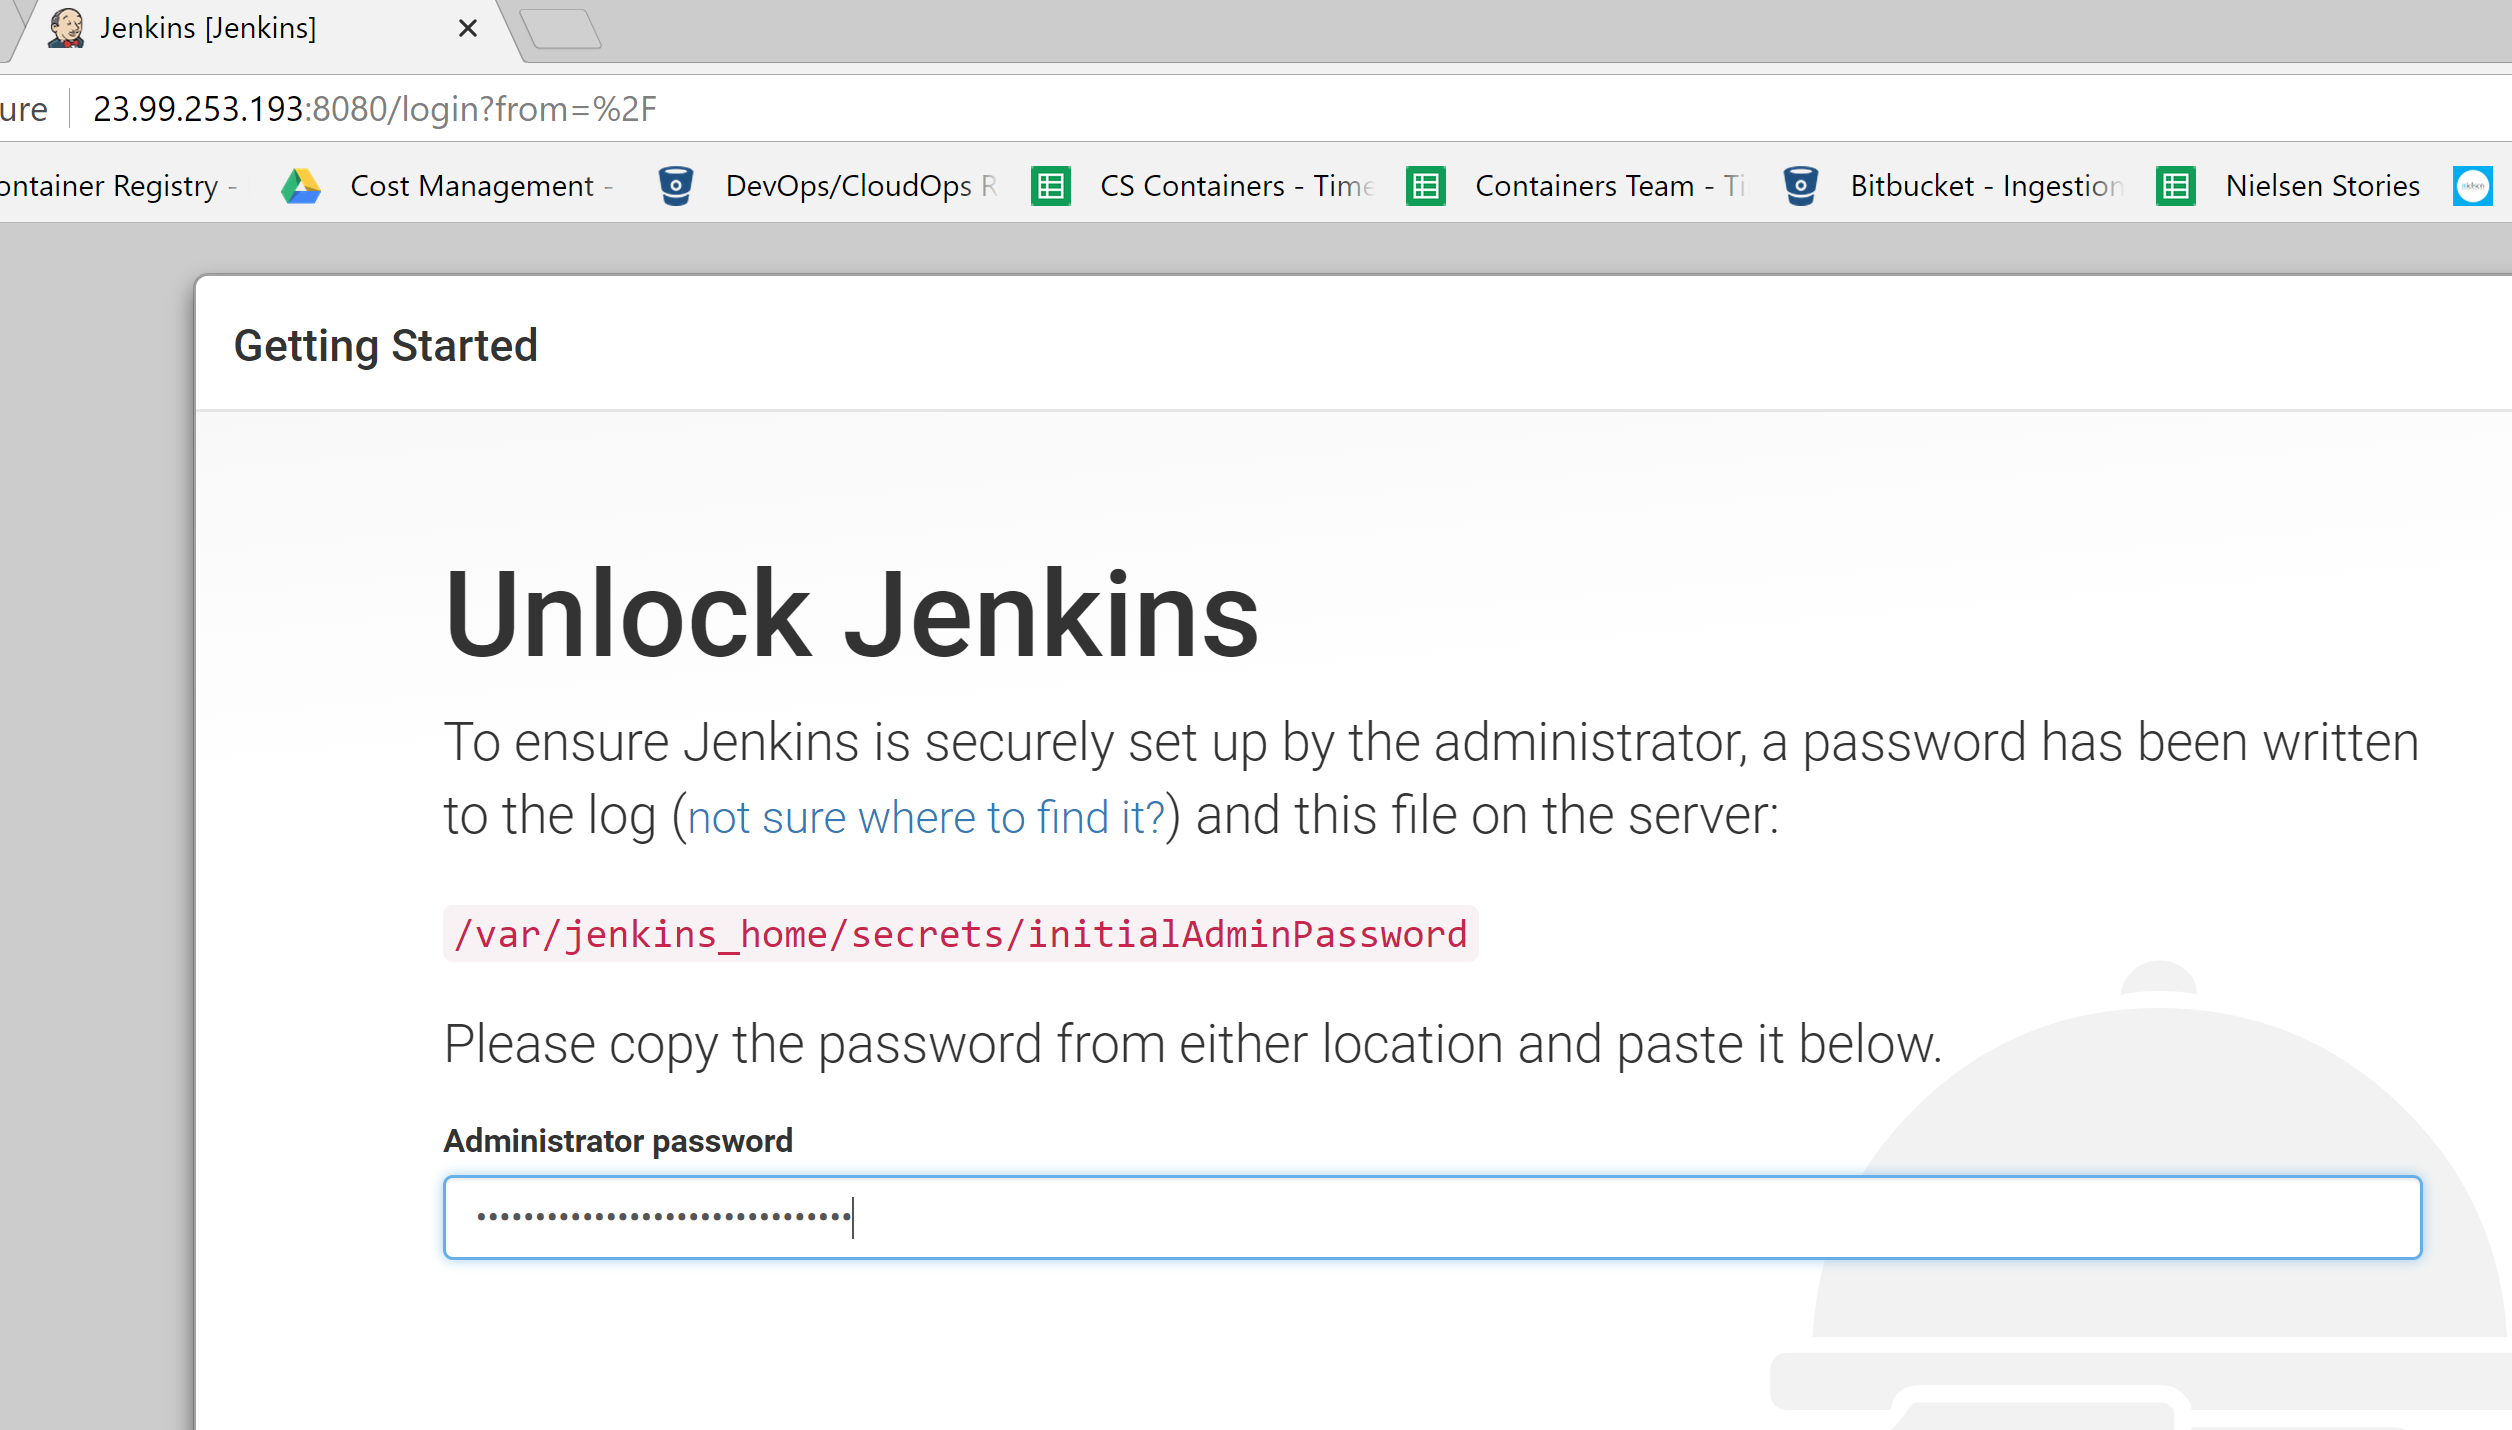
Start initial configuration of the Jenkins Instance in Kubernetes container.
Use the following command to retrieve the initialAdmin default password for Jenkins:
kubectl.exe logs jenkinsbox-55f58fcbcb-2ltqx

Use the public IP address from the Kubernetes service in the above screen shot to access the Jenkins initial setup page:
After initial configuration of Jenkins, create a sample pipeline job:
Simulate failure and recovery
To verify failure and recovery, delete the pod using the following command in the screen shot:
kubectl.exe delete pods --all

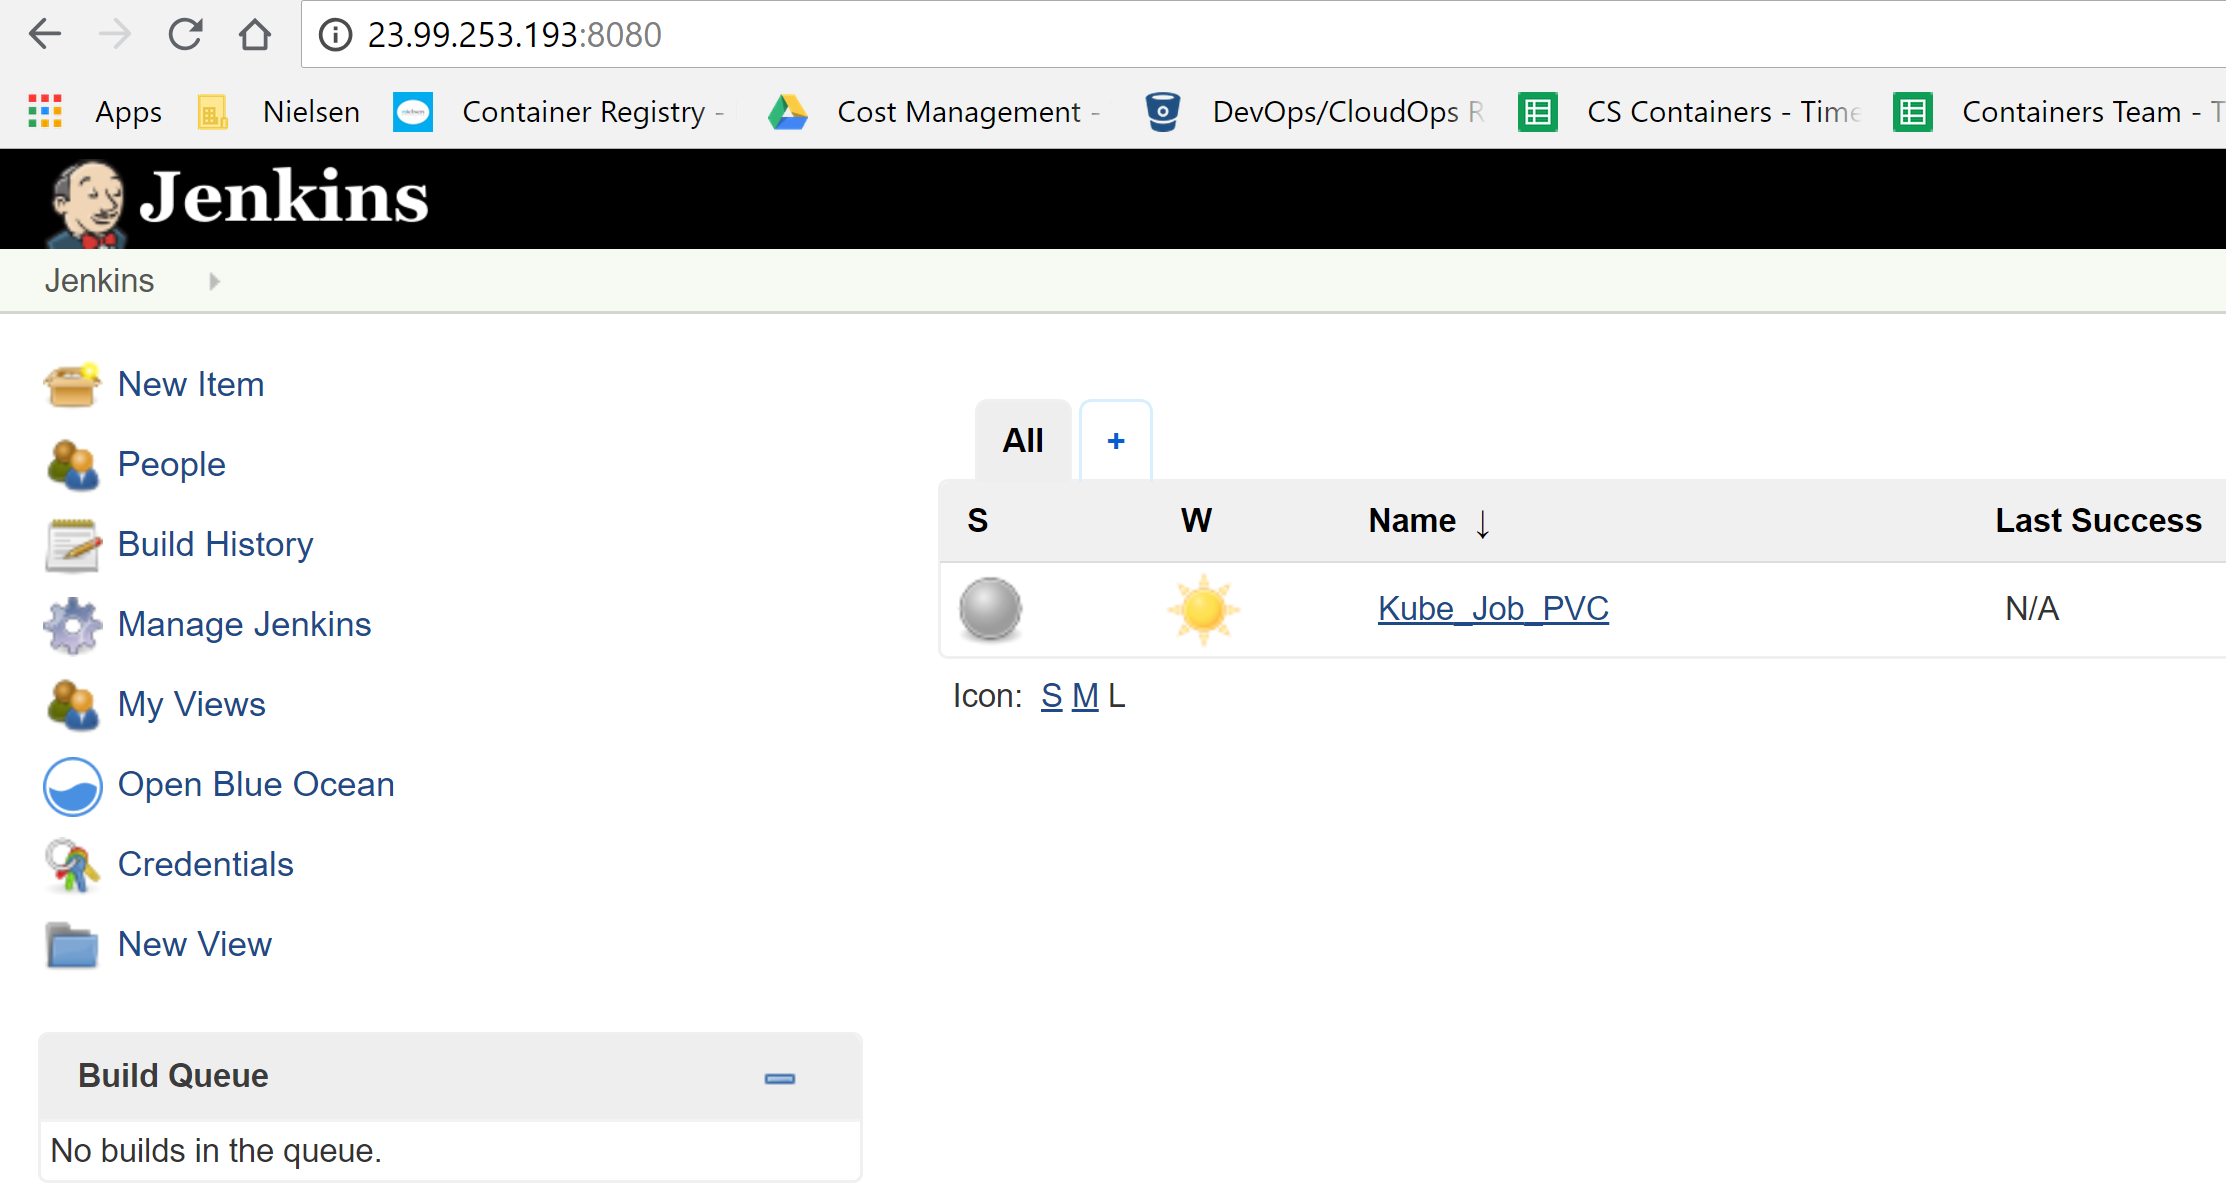
The screen shot indicates the pod deletion and immediate automatic creation of a new pod with same storage volume to match the number of replicas defined the deployment yaml file. In the next screen shot, you’ll see how to log in to the Jenkins instance without going through the setup wizard of a new instance. I can also confirm that the pipeline job created in the preceding steps is still available:

Verify recovery by deleting the current Jenkins deployment and using existing Azure Disk for static disk persistent volume on new deployment.
In this example, I delete the deployment and services created in the preceding steps and develop a yaml file config to deploy a new Jenkins instance using the existing disk provisioned above for an Azure static disk persistent storage volume mapped to a new Jenkins deployment.

Create a new deployment using the new yaml file:
kubectl.exe apply -f .\jenkinsbox-deployment-static-disk.yaml
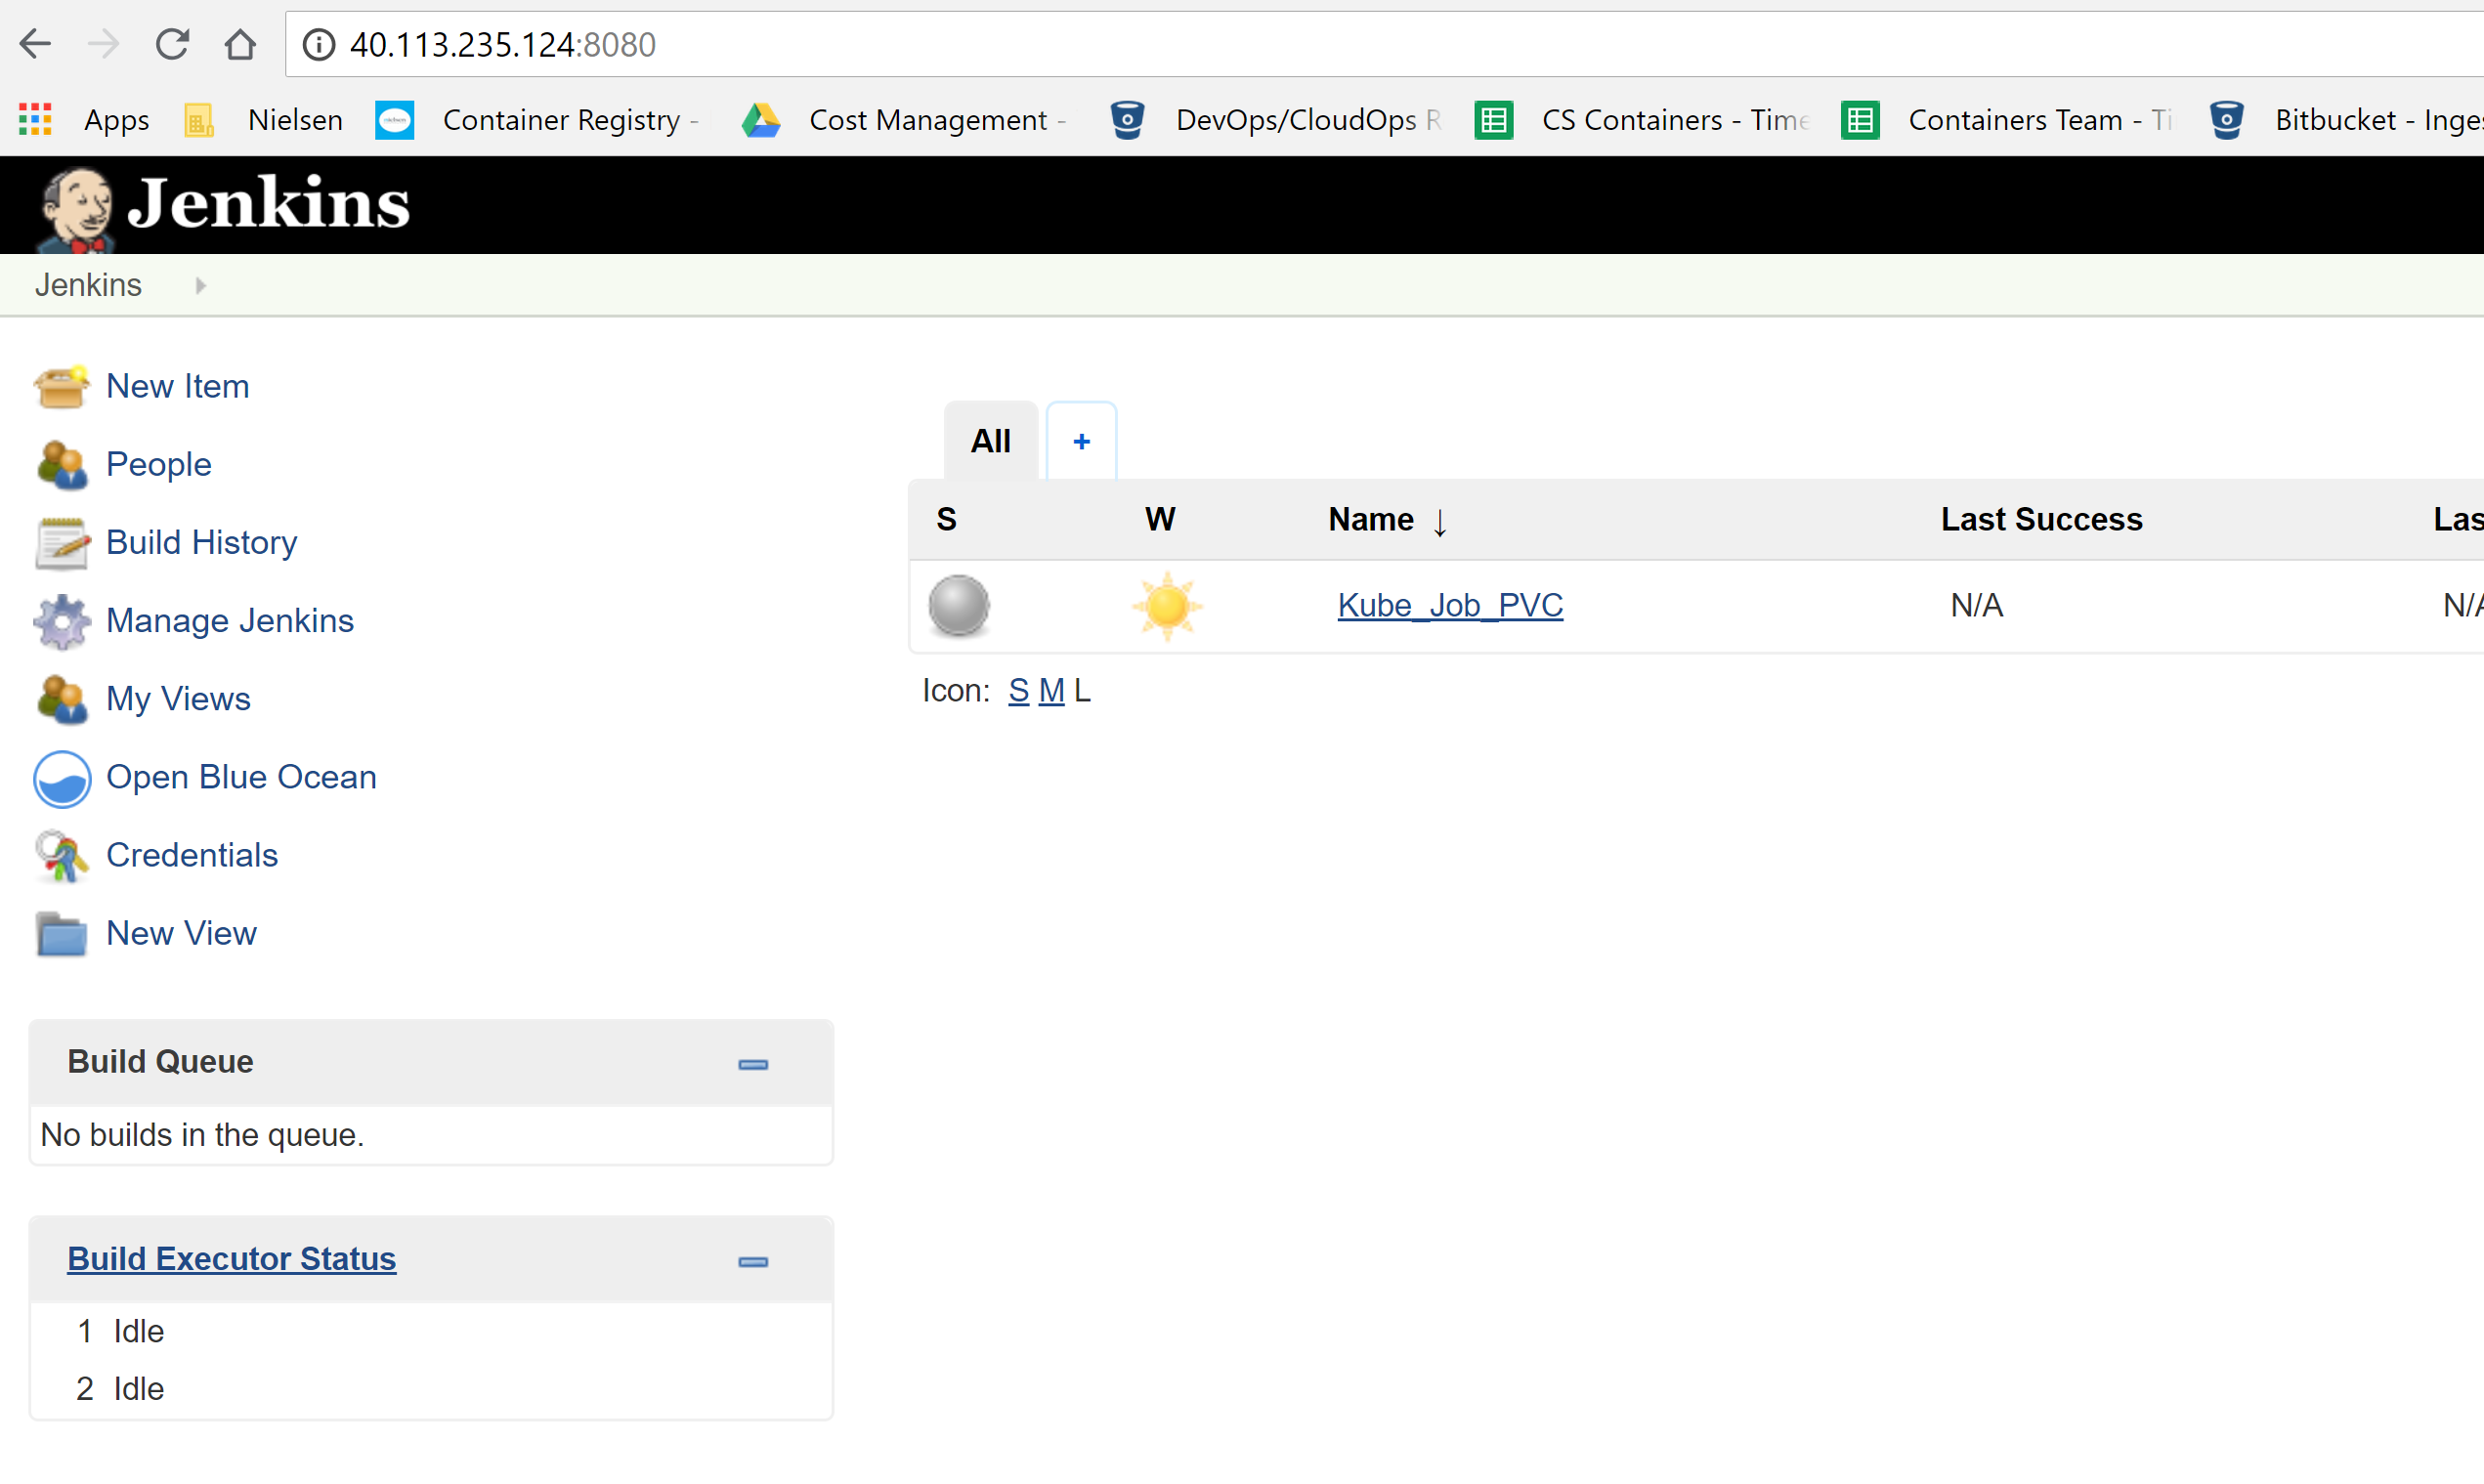
The following screen shot confirms that all the deployment components and pods have been successfully provisioned with the existing persistent storage volume mapped to the new pod.

As soon as the new deployment and pod are running, can login to the existing Jenkins instance without a setup prompt (since the static disk contains data from the initial deployments in the preceding steps) and confirm the existing pipeline Job. This is available since the existing disk is mapped to the new Kubernetes pod.
The new yaml file does not have a persistent volume claim section. Simply reference the diskUri of the existing managed disk in the deployment section. Use the jenkinsbox-deployment-static-disk.yaml file on Github for the new deployment to map an existing azure disk to the new deployment. The following snippet displays the section of the yaml file that maps the existing Azure disk:
apiVersion: extensions/v1beta1
kind: Deployment
.......
volumes:
- name: azure
azureDisk:
kind: Managed
diskName: kubernetes-dynamic-pvc-2d4066e6-7f34-11e8-a8dc-0a58ac1f067c
diskURI: /subscriptions/0c696513-fea6-4bca-ad18-3119de65acef/resourceGroups/MC_rgaks_akscluster0_centralus/providers/Microsoft.Compute/disks/kubernetes-dynamic-pvc-2d4066e6-7f34-11e8-a8dc-0a58ac1f067c
restartPolicy: Always
........
Blockers/Issues encountered.
A problem I experienced during initial deployment was a failed container. After digging into the logs for the container by using the kubectl.exe get pods, kubectl.exe logs pods and kubectl.exe describe pods commands, I noticed the pod was stuck in a “ContainerCreating” loop. I also observed the following Kubernetes event log messages: “MountVolume.SetUp failed for volume” and “do not have required permission”.
The pod could not attach the disk volume. This is similar to an issue that occurs using bind mounts in Docker. Resolving the issue in Docker is easy. But I couldn’t immediately determine how to resolve it within a Kubernetes deployment environment. This issue occurs because by default, non-root users do not have write permission on the volume mount path for NFS-backed storage. Some common app images, such as Jenkins and Nexus3, specify a non-root user that owns the mount path in the Dockerfile. When a container is created from this Dockerfile, the creation of the container fails due to insufficient permissions of the non-root user on the mount path.
After some research, I found the following solution that uses an InitContainer in my deployment, to give a non-root user that is specified in my Dockerfile write permissions for the volume mount path inside the container.
The init container creates the volume mount path inside the container, changes the mount path to be owned by the correct (non-root) user, and closes. Then, my Jenkins container starts with the non-root user that must write to the mount path. Because the path is already owned by the non-root user, writing to the mount path is successful. The full example on using the InitContainer can also be found here. The following is a section of my deployment yaml file that defines the InitContainer:
initContainers:
 - name: permissionsfix
 image: alpine:latest
 command: ["/bin/sh", "-c"]
 args:
 - chown 1000:1000 /var/jenkins_home;
 volumeMounts:
 - name: azure # Or you can replace with any name
 mountPath: /var/jenkins_home # Must match the mount path in the args line