Using GitHub Repository with Azure DevOps Pipelines
Azure Pipelines continuously build, test, and deploy to any platform or cloud. But did you know Azure Pipelines provides unlimited CI/CD minutes and 10 parallel jobs to every GitHub open source project for free? Here's 8 steps for using a GitHub repository with an Azure DevOps pipeline.
Step 1: Install Azure Pipelines Extension
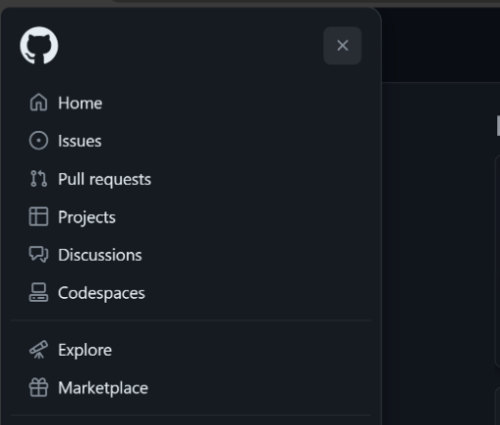
Log into your GitHub Account and Install the “Azure Pipelines” Extension from the GitHub Marketplace. You can find this by navigating the menu under the GitHub logo in the Top Left of the main GitHub page after logging in:
Step 2: Select Plan
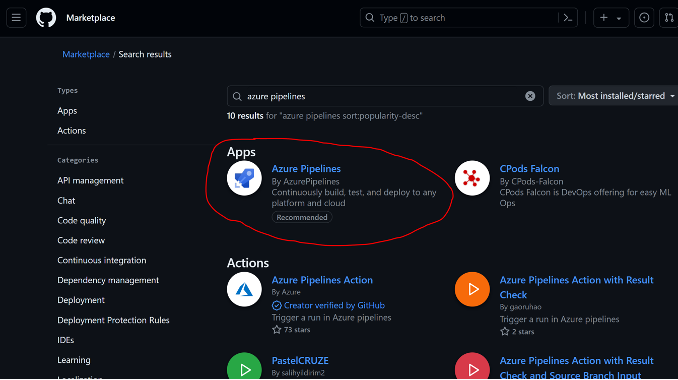
Search for “azure pipelines”, click on it, and select your desired plan. The free tier will work fine for most. Be sure to use your Azure DevOps login credentials when prompted for them.
Step 3: Create Pipeline
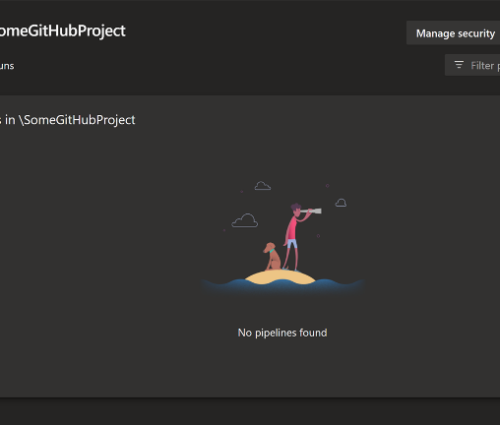
Once you have the Azure Pipelines Extension installed, you can now go into your Azure DevOps portal and create a pipeline that can be used with the contents of one of your GitHub repos. Log into your Azure DevOps portal and navigate to Pipelines:
Step 4: Select Code
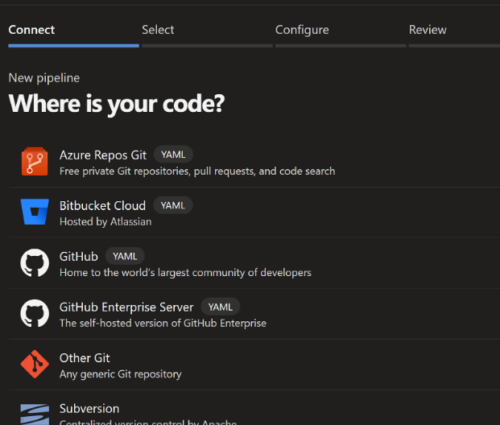
Click the “New pipeline” button in the top right corner. You will immediately be prompted to select where your code is located. Your choices may be different, but you will want to select GitHub.
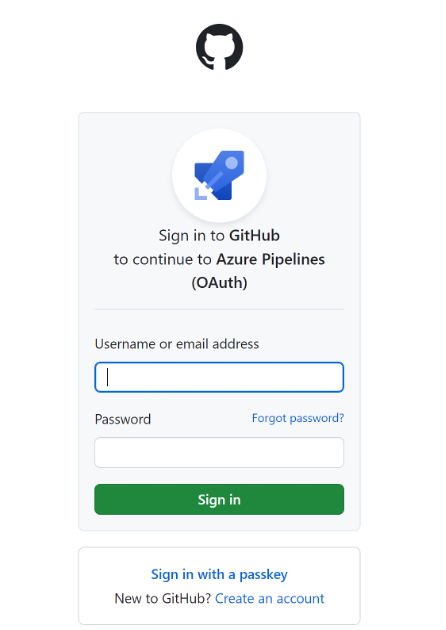
Step 5: Provide Credentials
When prompted to do so, provide your GitHub credentials:
Step 6: Select Repository
After authenticating, you will see a list of your repositories. Select the repository you wish to use. NOTE: If you have a file name azure-pipelines.yml in the root of your repos main branch, Azure DevOps will automatically select this as your pipeline file. Don’t worry. Just save the pipeline and you can go back into it and select another pipeline YAML file. More info on this will be provided below. So save the pipeline (don’t run) and skip past the next few steps if you are in this situation.
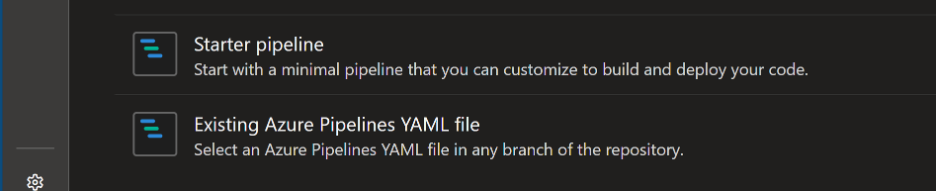
Step 7: Navigate to or Create New Pipeline
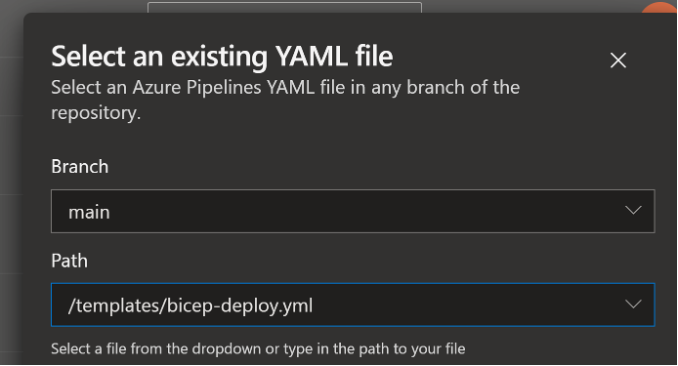
If you don’t have an existing pipeline or one that is named “azure-pipelines”, you will be prompted with several options, depending on what type of projects or languages Azure DevOps detects in your repo. Simply select “Existing Azure Pipelines YAML file” and you will be able to navigate to the branch of your choice and set the path to your existing pipeline file. You also have the option to create a new pipeline file that will be created and committed to your repo if you choose to go that route.
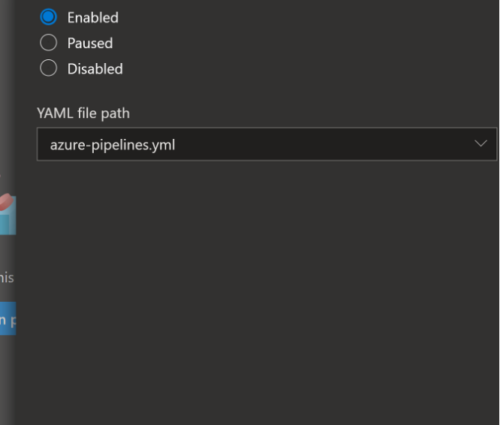
Step 8: Choose Existing Pipeline
Following up from earlier, if you happen to have an existing azure-pipelines.yml in your repo and want to change to a different file, click on the 3 dots in the top right, select Settings, and you can navigate to your desired pipeline YAML file under the “YAML file path” drop down.
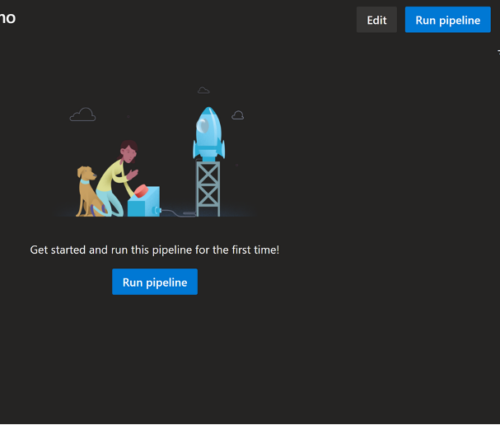
That's it! You should now be able to connect to your GitHub projects and run build and deploy pipelines in Azure DevOps. You now have unlimited CI/CD minutes and 10 parallel jobs to every GitHub open source project for free.