Creating a Serverless AWS Lambda Web API with AWS Toolkit

In this tutorial I'll create a Serverless AWS Lambda Web API using, AWS Toolkit along with Visual Studio 2017, which will help to write and deploy the API all from inside the Visual Studio interface.
Why the focus on AWS Toolkit?
I’ve been interested in AWS for a while and I’ve noticed they have recently promoted their .NET core services by providing .NET tools, webinars and tutorials. In the recent 2018 AWS summit in Chicago, they dedicated multiple topics to using their cloud for the development and the deployment of .NET applications. They touted “AWS loves .NET”, in a way to attract more .NET workshops to shift to AWS instead of using cloud services from their biggest competitor — Azure.
What is the AWS toolkit?
The AWS toolkit is a Visual Studio extension that supports 2013, 2015, and 2017 (only the Windows version, Mac version is not supported yet). This tool helps developers to create, debug, and publish applications to AWS all from Visual Studio. Such tasks can also be done using AWS console and they also have a similar AWS tool for Eclipse for other languages.
Let's create a simple Serverless .NET Core Web API with AWS Lambda to demonstrate using this tool in Visual Studio. We will also be using some other services such as S3 and IAM. We will hold off on discussing those details for now.
Creating a user
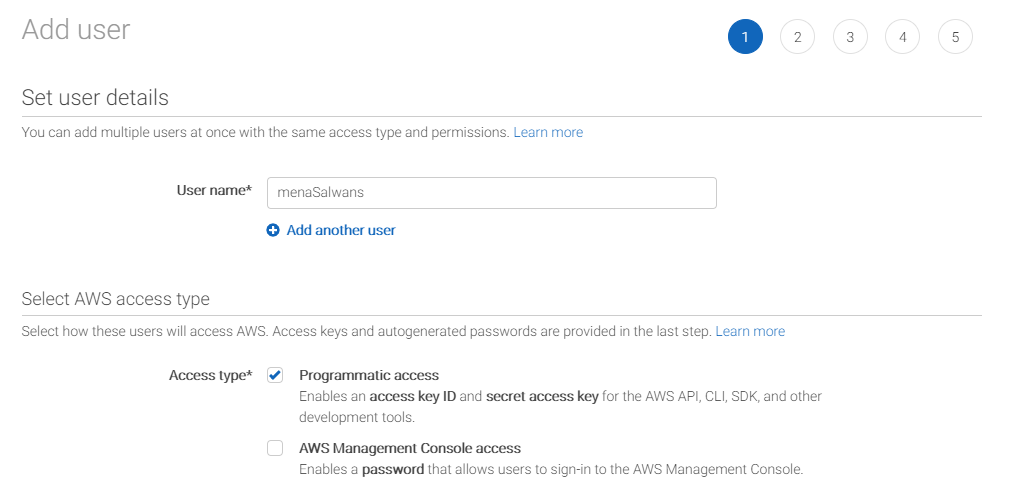
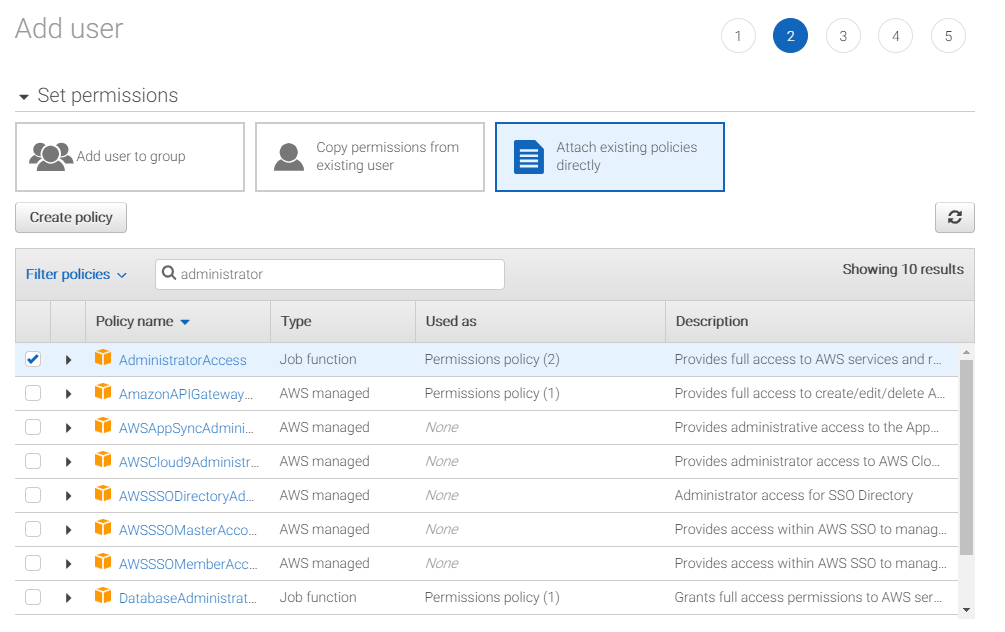
In order to set up and use the AWS Toolkit, create a user with administrator policy, then use this user’s access and secret keys to complete the setup.
Creating a user should be easy. After logging into AWS console, go to IAM then Users then click the “Add user” blue button. Then add the user information in 5 steps as below.
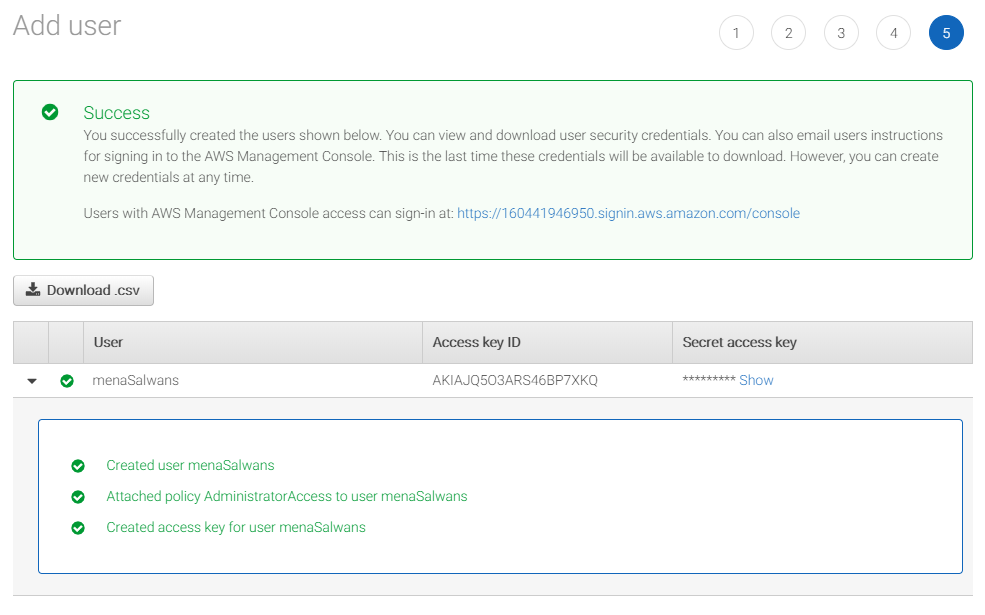
Step 3 is all about adding tags and more information to the account, and step 4 is a review page. Then you should be able to see the step 5 page, which has the access key as well as the secret key. Instead of copying these key, click the “download csv” button to get a csv file with the keys. Import the given csv file into the AWS toolkit later inside Visual Studio.
Installing the AWS Toolkit
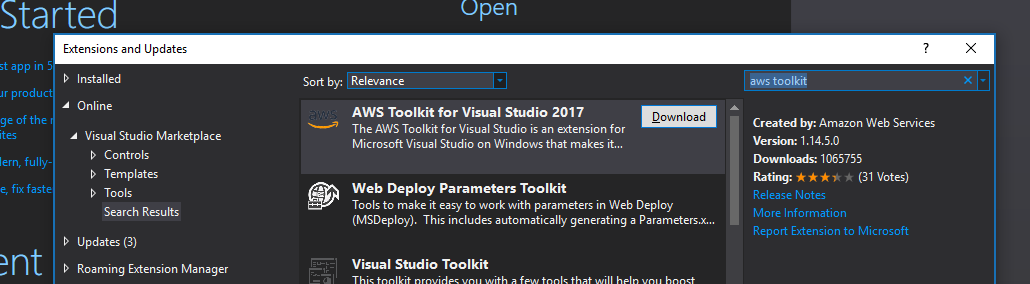
The tool is available either through the AWS website or the Visual Studio Marketplace as an extension. You’ll be installing it that way. Under “Tools” -> “Extensions and updates” and then search for “AWS Toolkit” in the online extensions list, it should be right in the top. Click download. This might request you to restart Visual Studio to finish the installation.
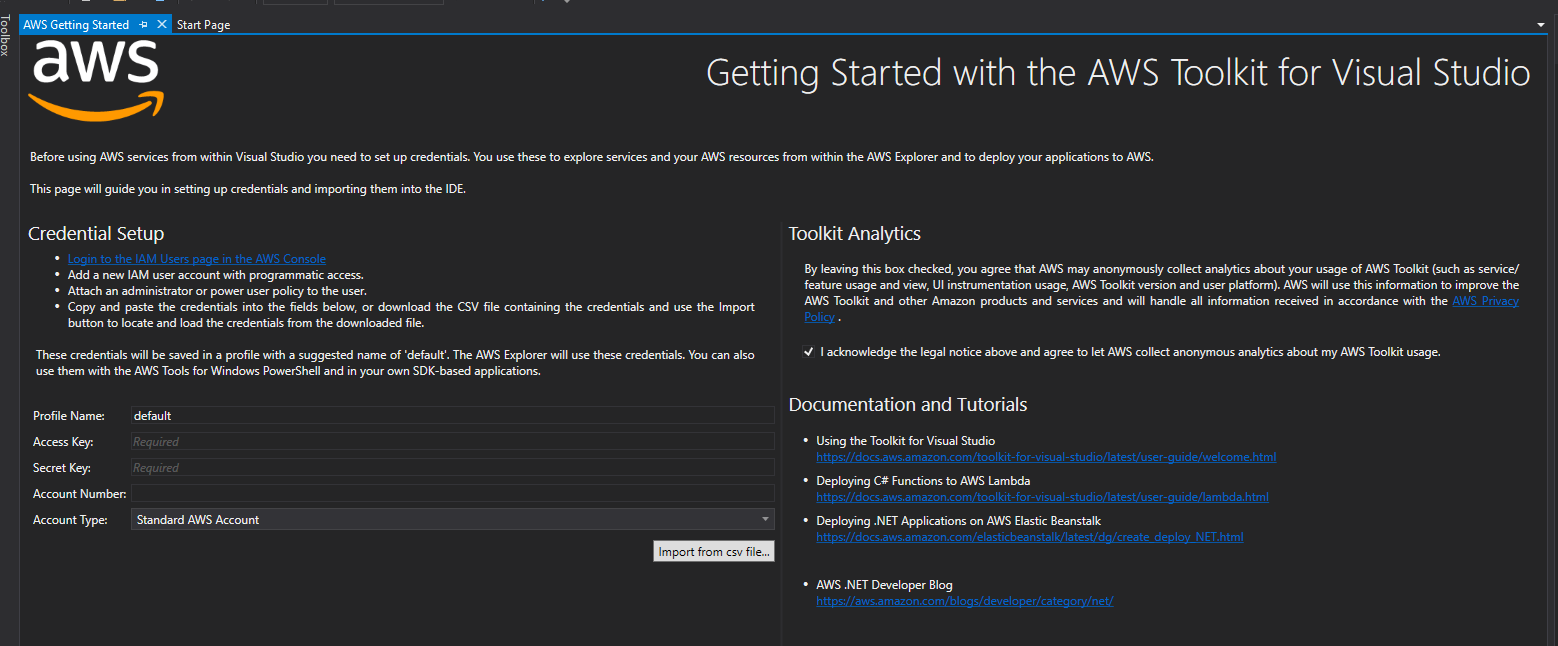
After restarting Visual Studio, you'll be greeted by the AWS Toolkit welcome screen where the user’s access and secret keys should be added. In this case, click “Import from csv file” and that will take care of adding both of the keys. Finally, click the “Save and Close” yellow button.
Creating the AWS Serverless application from template
To create a new project, go to “File -> New -> Project”. You should see all the available AWS projects types in C#. There is a template for Node.js under root “AWS” as well.
To create an AWS Lambda in .net core, go to “AWS Lambda” under “Visual C#” then select “AWS Serverless Application (.Net Core)” as shown below. Call the project HelloWorld.

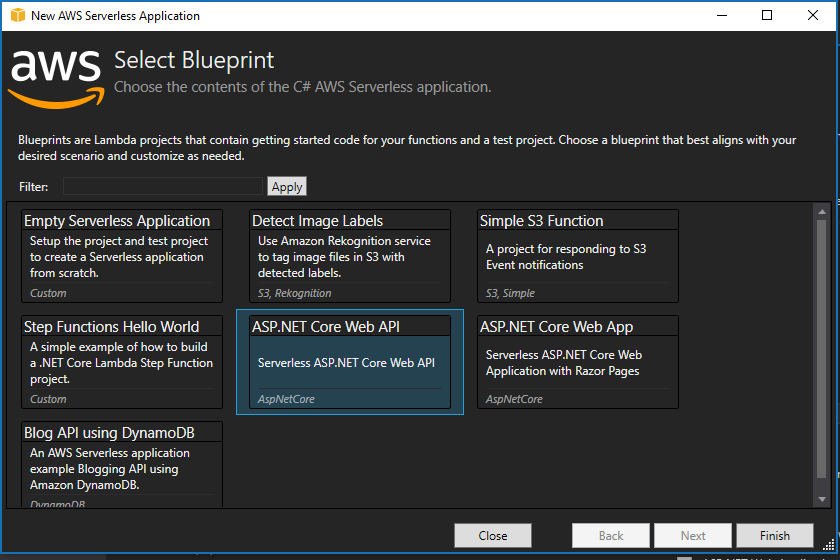
After clicking create, select a blueprint -- basically a template with a base code. Select the “ASP.NET Core Web API” option and click “Finish”.
Template structure
The structure of the template is very simple. To reach lambda function, go through “API Gateway”. This is a mandatory component to trigger a lambda function from outside AWS. Here, we are not using any auth service, but it is provided in AWS by a service called Cognito.
Lastly, as seen below, this template allows the application to save and get objects/files from S3 storage, which isn't needed in this tutorial.

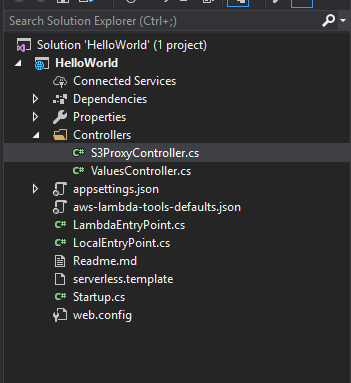
At this point you should be able to see the template files in the “Solution Explorer” as below. Also, notice some new files:
- cs : One of the most important files as this class contains the Init() method which will be invoked first once we trigger the lambda function
- cs: This class allow us to run the project locally for debugging and it uses Kestrel webserver as a host
- template: This file will have all the configuration for the project, it will have a pointer to the LambdaEntryPoint class and in this template it will have the configuration for S3 as well since it has been used in the controller for this template
Writing the Lambda
Delete the unneeded files and code to write a lambda. Start by deleting the two controllers, then navigate to serverless.template and remove all S3 configuration.

After removing all the S3 bucket configuration and references, the resources object should look like this:
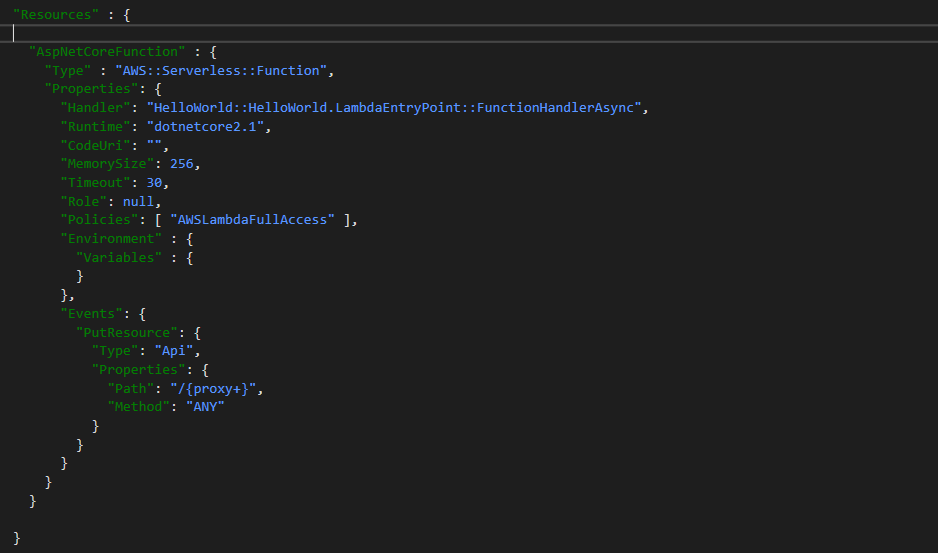
Since you deleted the two controllers that came with the template/blueprint, go ahead and create a new API empty controller and call it HelloController. Also, create two Get methods, with and without a parameter.
namespace HelloWorld.Controllers
{
       [Route("api/[controller]")]
       public class HelloController : Controller
       {
            [HttpGet]
            public string Get()
            {
                return "Hello! there";
            }

            [HttpGet("{name}")]
            public string Get(string name)
            {
                return $"Hello! {name}";
            }
      }
}
Click F5 to run the Web API locally as any regular .net core app and test it right in the browser. Because this is a Get action, you can navigate to http://localhost:57002/api/hello to get the first greeting, or pass a parameter http://localhost:57002/api/hello/world to get the greeting with a name.
Publishing to AWS
Deploying this code is a straightforward task: from the solution explorer in Visual Studio, right-click the solution name and select “Publish to Lambda AWS” from the menu. You'll see the window below:
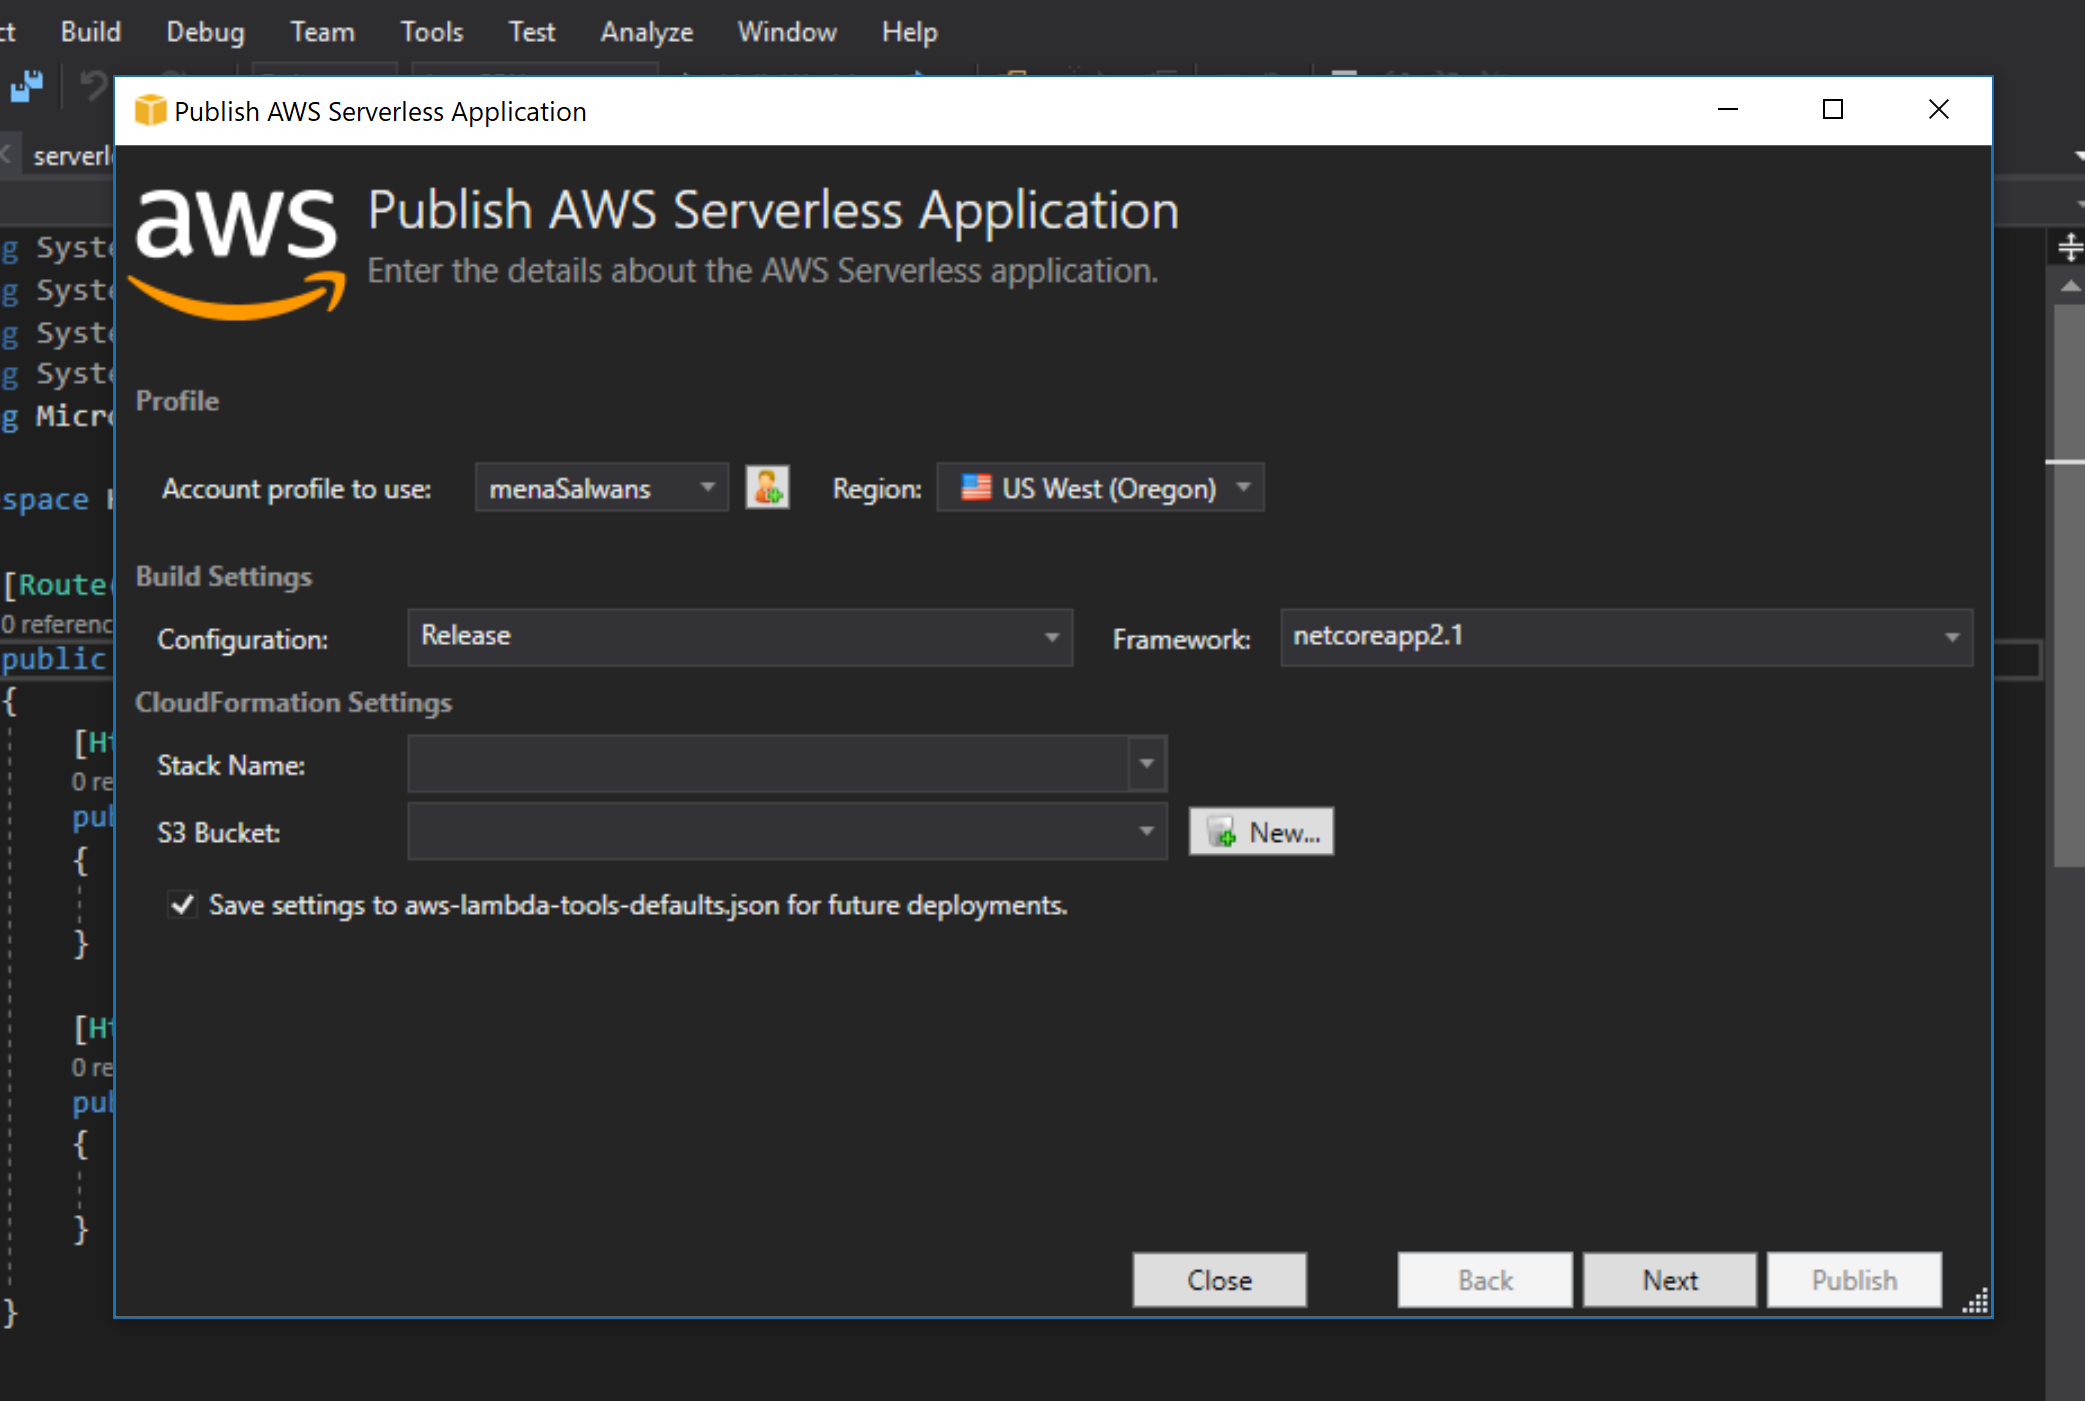
The account profile is the same profile created using the user access and secret keys. Supply a Stack Name, use “HelloWorldLambdaAPI” and finally a storage as S3 Bucket. If you've already created a bucket, it should be listed in the dropdown list. Otherwise, click new to create one on the fly. Name the S3 Bucket “temp-webapi-helloworld-lambda”.
It’s good to mention here that the bucket name should be unique across AWS S3 buckets. Plus, you should have all the DNS naming requirement listed below:
- Should not contain uppercase characters
- Should not contain underscores (_)
- Should be between 3 and 63 characters long
- Should not end with a dash
- Cannot contain two, adjacent periods
- Cannot contain dashes next to periods (e.g., "my-.bucket.com" and "my.-bucket" are invalid)
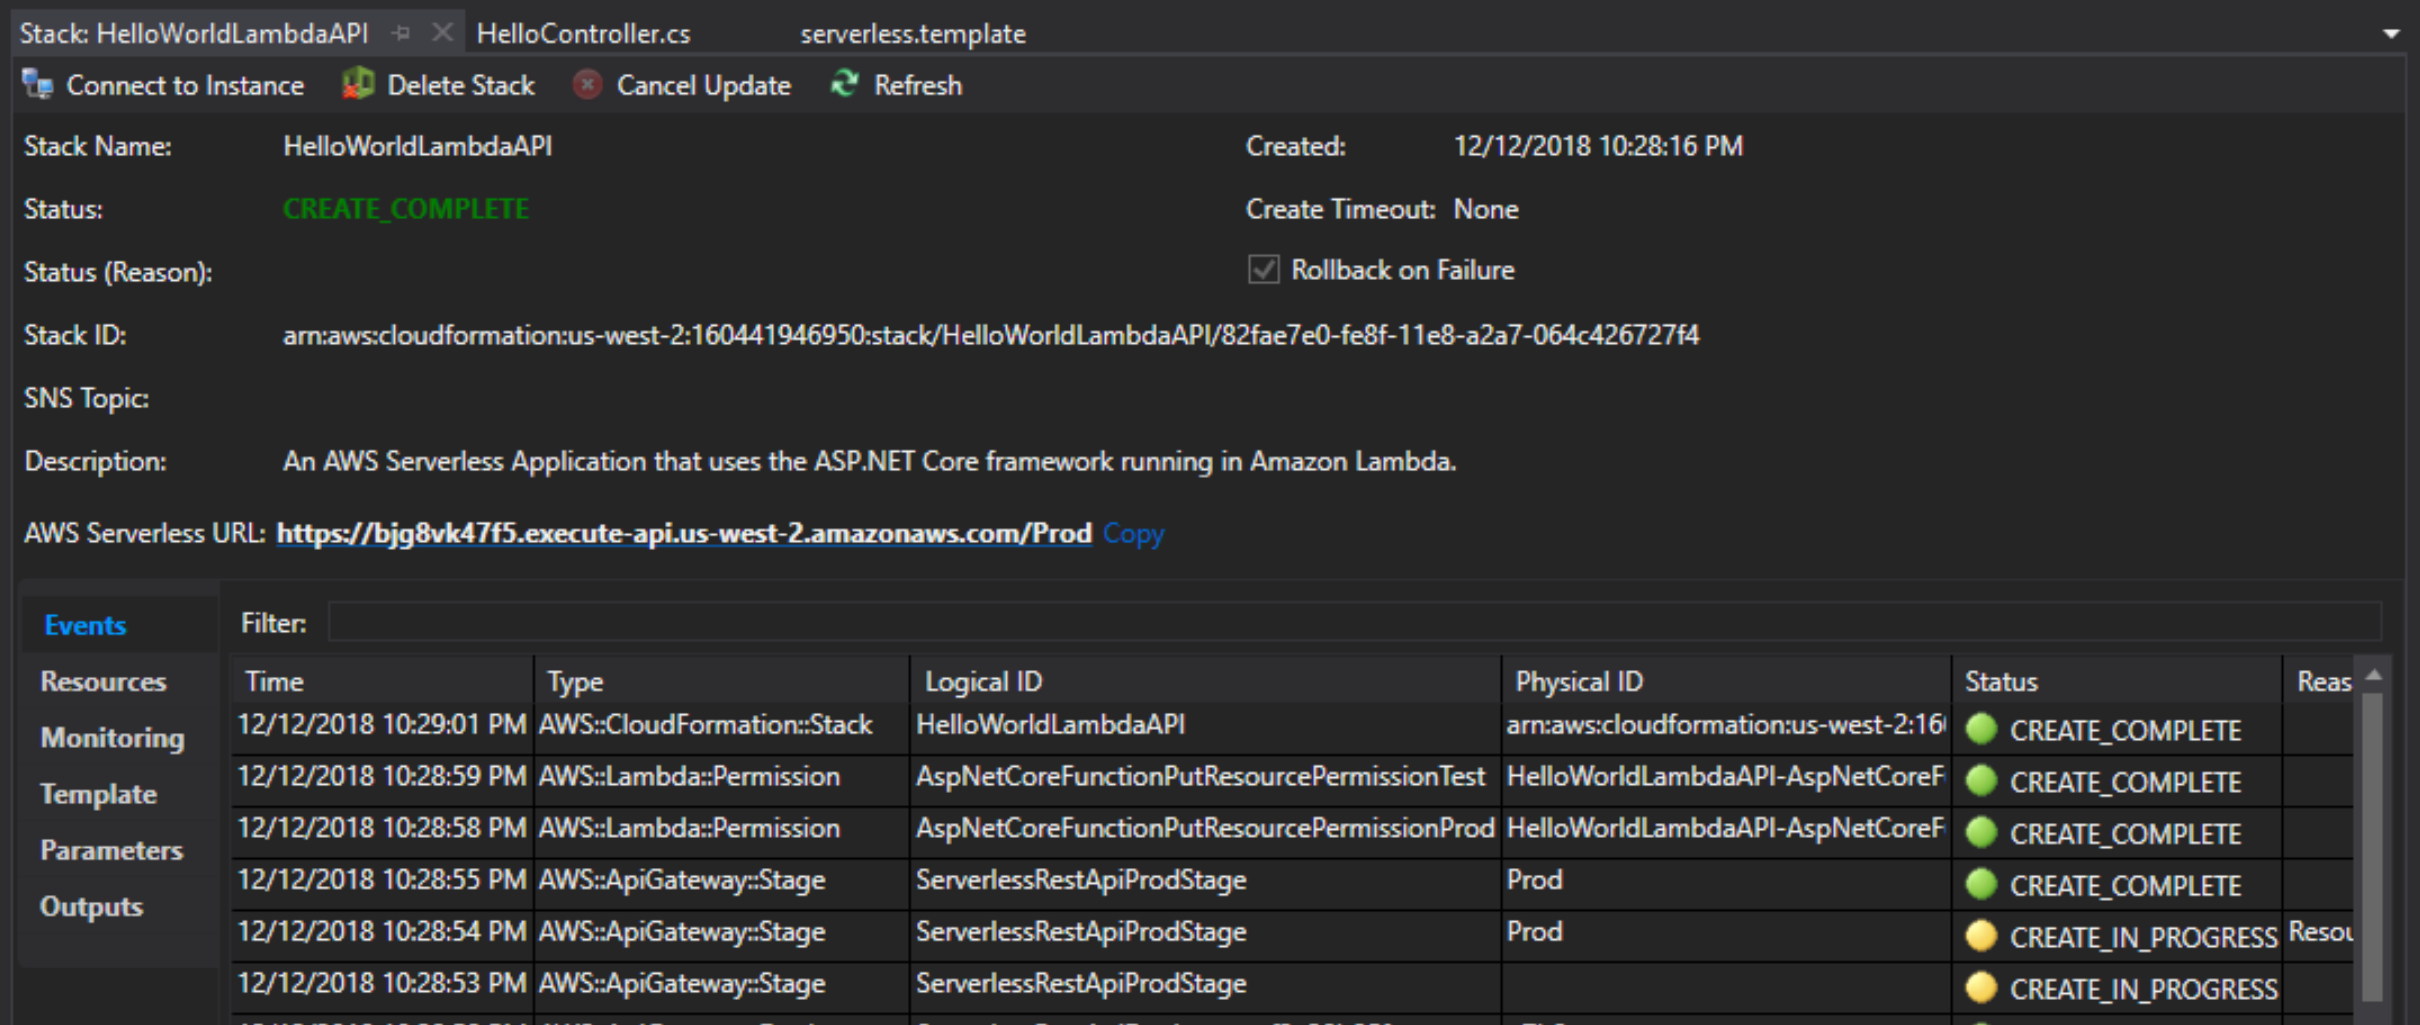
Click “Publish” to start the deployment. Once you see the below window, you can see the endpoint. In this case it's https://bjg8vk47f5.execute-api.us-west-2.amazonaws.com/Prod
Also, you can easily test it in the browser, as below:
https://bjg8vk47f5.execute-api.us-west-2.amazonaws.com/Prod/api/hello
https://bjg8vk47f5.execute-api.us-west-2.amazonaws.com/Prod/api/hello/world
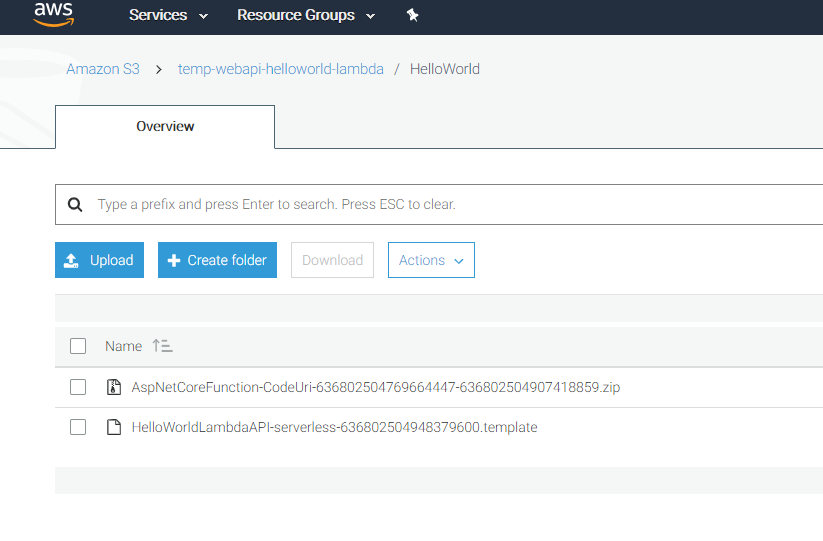
If you navigate to AWS console, you will see the deployed Web API in the S3 bucket in zip format:
SPR is a member of the Amazon Partner Network. Learn about our AWS expertise.
Ready for what's next?
Together, we can help you identify the challenges facing you right now and take the first steps to elevate your cloud environment.